
Home Finds Studio is a participant in the Amazon Services LLC Associates Program. As an Amazon Associate, we earn from qualifying purchases — at no extra cost to you. We only feature products we genuinely love.
Your refrigerator doesn’t have to be the forgotten corner of your kitchen. With a clean-out, a few clear organizers and a system you can actually keep up, you can build a fridge organization aesthetic that looks calm and put-together every time you open it — no expensive kitchen required.
Here are 15 fridge organization ideas, grouped so you can start with the messiest zone and build from there, plus the organizers worth buying and answers to the questions people ask most.
Start With a Clean, Contained Base
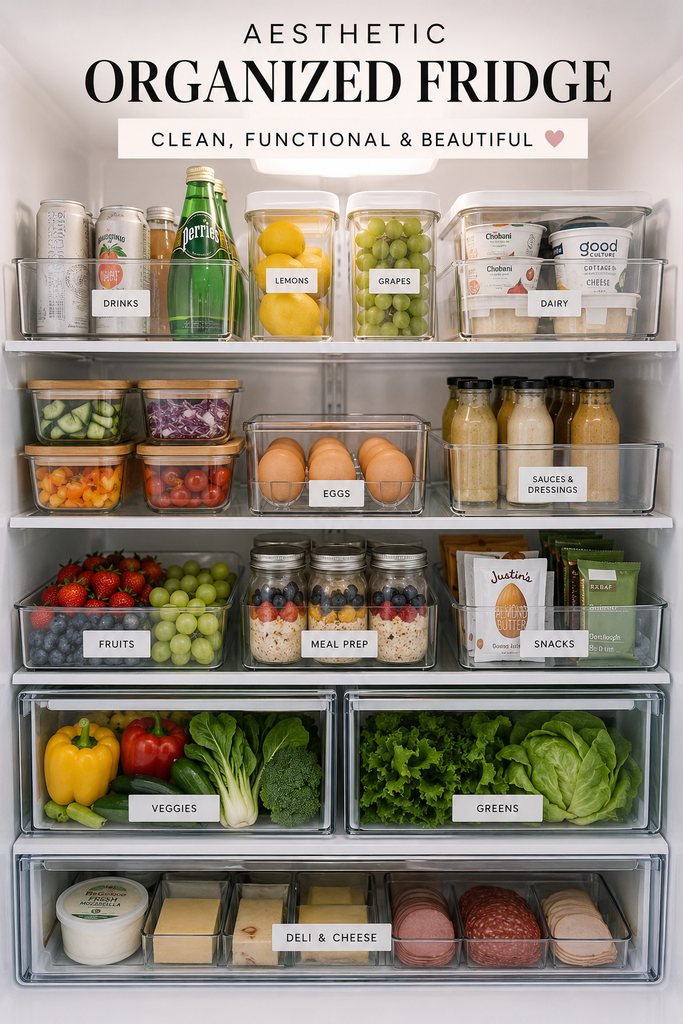
The first eight ideas reset the fridge and give every kind of food a container it belongs in.
1. Start With a Deep Clean
What: empty the fridge completely before buying a single organizer. How: pull the shelves and drawers, wash them in warm soapy water, wipe the interior with a little dish soap or a 1:3 vinegar-water mix, and dry before everything goes back. Tip: do it the day before grocery day, when the fridge is naturally emptiest.
2. Sort Packaged Food Into Clear Fridge Bins
What: group loose packages into a few open-top bins by how you use them — breakfast, snacks, lunch-makings, baking. How: give each bin a fixed shelf and pull the whole bin out when you cook. What to look for: open (not lidded) bins with handles; measure your shelf height and depth first, because a bin an inch too tall wastes the space above it.
3. Set Up a Dedicated Drink Station
What: give cans and bottles one defined spot so they stop spreading across shelves. How: a can dispenser or slim tiered rack on one shelf, favorites at the front. What to look for: a rolling can dispenser if you mostly buy cans, a two-tier rack for a mix — and check the width against your narrowest shelf.
4. Corral Sauces on a Lazy Susan
What: put a turntable where jars normally disappear — a deep corner or the back of a shelf. How: load it with dressings, sauces and jams and spin instead of unpacking the shelf. What to look for: a raised edge and non-slip base so jars don’t slide off, plus a couple of centimeters of turning clearance.
5. Keep Fruit and Greens in Produce Containers
What: move berries, greens and herbs out of clamshells and bags into containers built for produce. How: berries go in unwashed, greens with a dry paper towel, soft herbs upright in a little water. Why it’s worth it: vented produce containers can add days to the life of raspberries and spinach — this is the idea that actually saves money. What to look for: an adjustable vent and a raised colander insert so moisture drains away from the fruit.
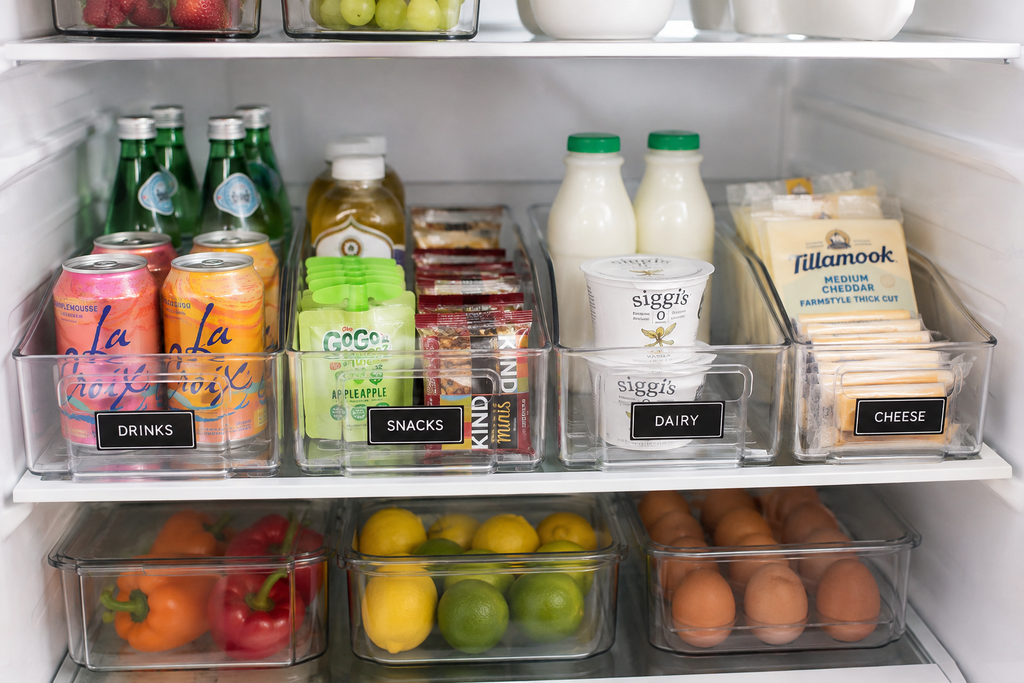
6. Decant Loose Food Into Matching Airtight Containers
What: transfer food in bulky or messy packaging — deli meat, shredded cheese, opened bacon, leftovers — into matching containers. How: start with the messiest shelf, decant, add a small date label. Unlike bins (which group packages), airtight containers replace the package and keep cut fruit and deli meat fresh longer. What to look for: one system where every lid fits every base; rectangles stack better than rounds.
7. Label Bins and Containers — Lightly
What: add short, consistent labels so the system survives everyone else. How: label the front of each bin and the lid of decanted containers — one font, one color, a word or two. Tip: don’t label every item; that turns the fridge into a filing cabinet and nobody keeps it up. What to look for: a label maker with laminated tape that survives condensation, or pre-printed waterproof labels.
8. Build a Grab-and-Go Snack Bin
What: give kids (or your future self) one bin of ready-to-eat snacks at a reachable height. How: pre-portion cheese sticks, cut veg, fruit and yogurt into one open bin on a low shelf; refill weekly. Tip: putting it low means kids serve themselves and leave the rest of the fridge alone.
Create Zones That Actually Stay Organized
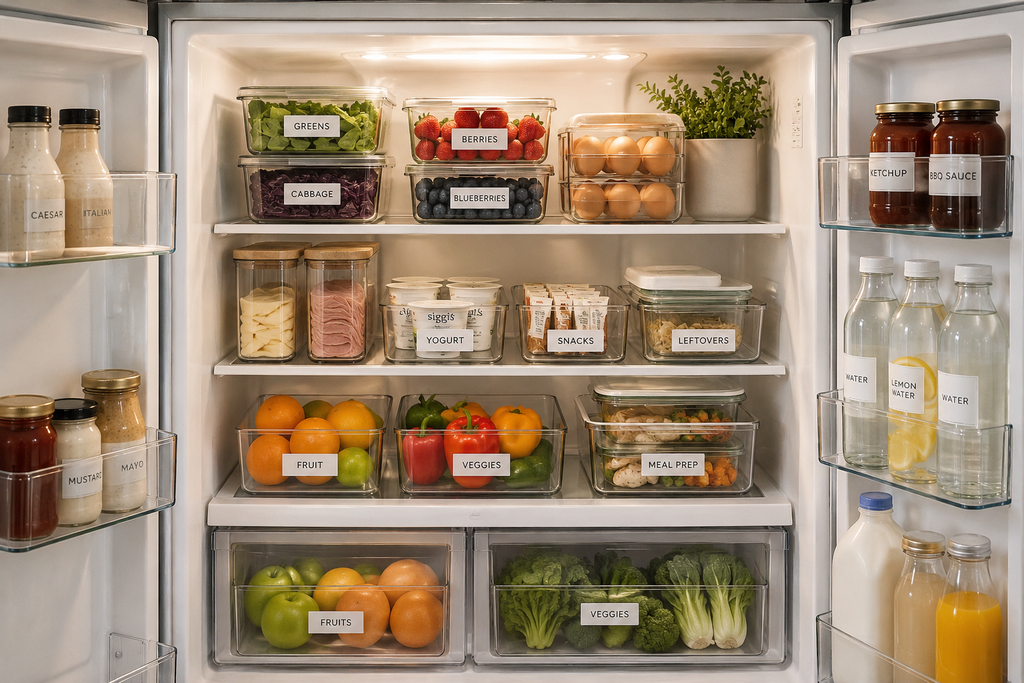
Ideas 9 to 15 keep the reset from falling apart, with a permanent home for every category.
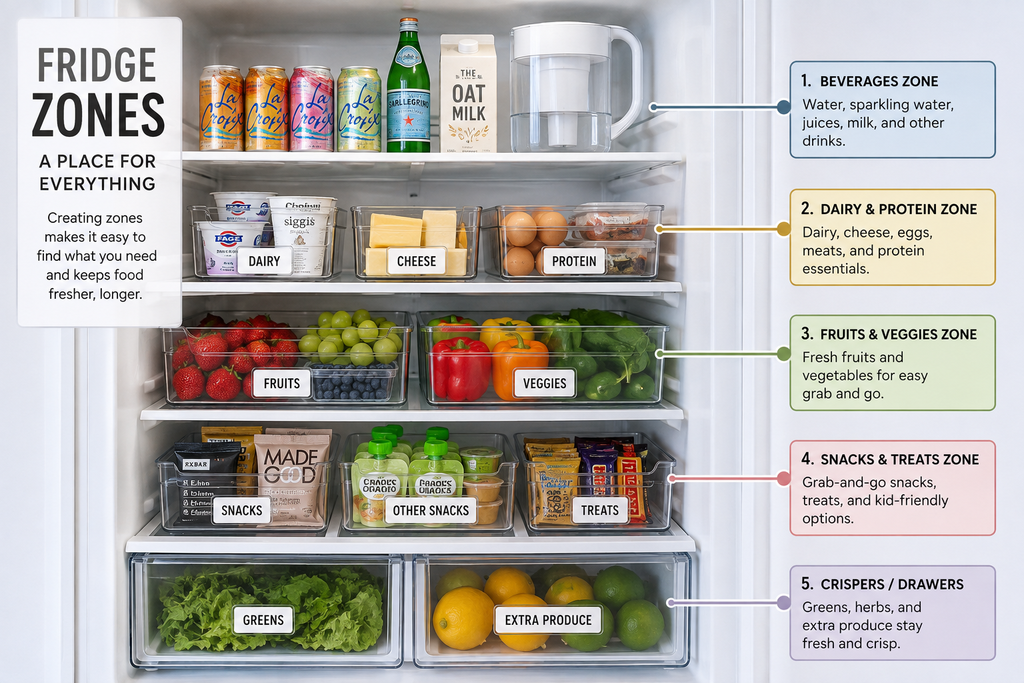
9. Organize by Temperature Zones
What: give each category a zone based on how cold that part of the fridge runs. How: ready-to-eat food and leftovers up top, dairy and eggs in the middle, raw meat on the bottom shelf (coldest, and drips can’t reach anything), produce in the drawers, condiments in the door. Tip: write the zones on a card and tape it inside a cabinet for the first month.
10. Swap the Egg Carton for an Egg Holder
What: replace the bulky carton with a low tray. How: keep it on the middle shelf, not the door — the door is the warmest spot and swings in temperature every time you open it. What to look for: a clear holder sized to a dozen or 18, so you can see your count and stop over-buying.
11. Dedicate a Meal-Prep Shelf
What: give prepped meals one shelf or one row of containers. How: matching meal-prep containers, lined up left to right in the order you’ll eat them, at eye level so you reach for them. What to look for: single-compartment containers for ingredients, divided ones for full meals; glass reheats better, plastic is lighter for lunches out.
12. Keep the Door Minimal and Grouped
What: stop using the door as overflow storage. How: group by type (mustards together, hot sauces together), pull duplicates, and put loose sauce packets in one small bin. Tip: only shelf-stable, high-acid things belong in the door — condiments, juice, butter. Milk and eggs don’t.
13. Let the Food Be the Only Color
What: keep every organizer neutral so the produce is what you notice. How: clear containers, white or black labels, at most one wood or rattan accent — nothing patterned or brightly colored. Why: this is a look decision, not a function one, but it’s why aesthetic fridges photograph so well — your eye lands on the strawberries, not the packaging.
14. Don’t Pack It to the Edges
What: leave deliberate empty space on every shelf. How: aim for shelves about three-quarters full; if a bin is overflowing it needs a bigger bin or fewer items, not more stacking. Why: air has to circulate for the fridge to hold an even temperature, so an overpacked fridge is messier and less efficient.
15. Build a System, Not a Photo
What: optimize for something you can keep up in five minutes a week, not something perfect for one picture. How: every time you unload groceries, do a quick pass — toss what’s gone off, wipe one spill, put strays back in their zone. Tip: if part of the system keeps failing, that’s information — adjust the bin, the label or the category instead of forcing it.

The Simple Formula for a Fridge Organization Aesthetic
If you remember nothing else, remember this order:
- Clean everything out first.
- Categorize similar foods together.
- Contain loose items in matching organizers.
- Label only what will genuinely help.
- Leave a little empty space on every shelf.
- Maintain the system for a few minutes each week.
A beautifully organized fridge doesn’t need a luxury kitchen or expensive products — just a few thoughtfully chosen containers and a little consistency. Start with one shelf or one category at a time, and remember: the prettiest fridge isn’t the one with the most organizers, it’s the one that works for your lifestyle.
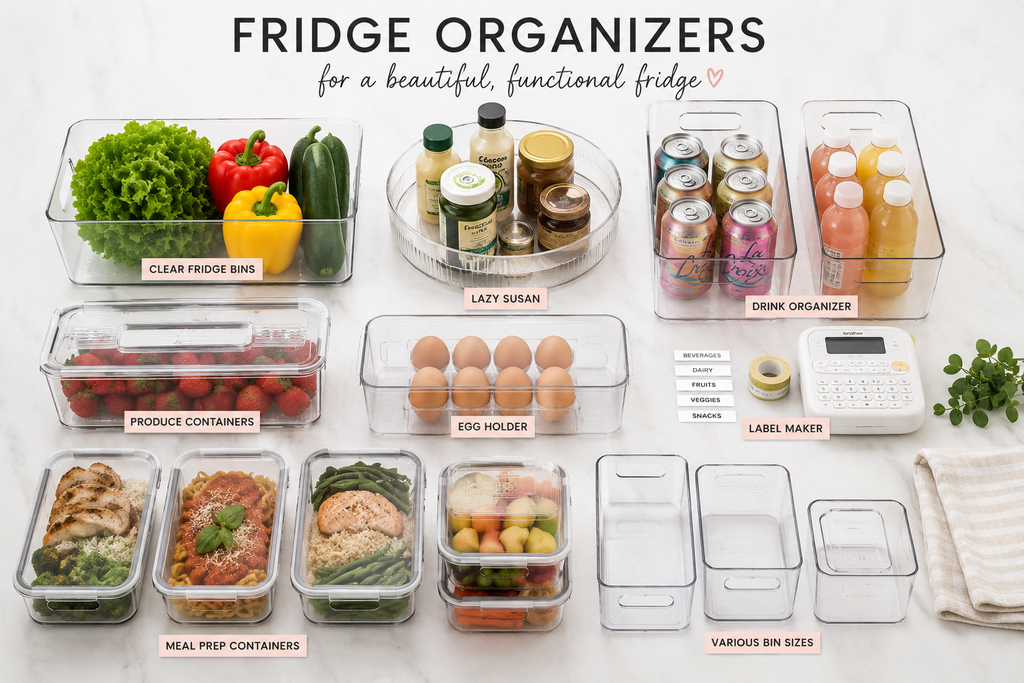
What to Buy: Fridge Organizers Worth It
You don’t need a full matching set on day one. Buy for your messiest zone first and add pieces over time. The categories that earn their shelf space:
- Clear fridge bins — open-top baskets that group packaged food by category; measure shelf height and depth first.
- A lazy Susan — a turntable for the sauces and small jars that get lost at the back of a shelf.
- A drink organizer — a can dispenser or tiered rack that turns a wasted shelf into a tidy drink station.
- Produce containers — vented, with a drainage insert, to keep berries and greens fresh in the drawers.
- An egg holder — a low tray that replaces the carton and lets you see your count at a glance.
- A label maker — for short, condensation-proof labels that keep the system going when others use the fridge.
- Meal-prep containers — a matching set for a dedicated prep shelf; glass for reheating, plastic for portability.
For organizers for the rest of the kitchen — cabinets, drawers and the pantry — see our guide to Amazon kitchen organization products that actually save space. The same clean-contain-label approach works everywhere; our roundup of home organization products you’ll actually use has the picks.
Frequently Asked Questions
How do I organize my fridge on a budget?
Start with a full clean-out — that alone makes the fridge look most of the way there — then add a few clear bins for your messiest shelf. Build a matching set over months; you don’t need it all at once.
What are the best containers for fridge organization?
Use two types for two jobs: open clear bins to group packaged food, and airtight containers to decant loose or messy-packaged food like deli meat and cheese. For fruit and vegetables, use vented produce containers — they let air move, so berries and greens last longer.
How do I keep my fridge organized long-term?
Give every category a fixed zone, label lightly, and do a five-minute pass each week when you put groceries away. That weekly-pass habit is what keeps our 20 bathroom organization ideas working too — the maintenance matters more than the setup.
Where should I store eggs, milk and produce?
Eggs and dairy belong on a middle shelf, not the door, which is the warmest part and swings in temperature. Produce goes in the crisper drawers, raw meat on the bottom shelf, condiments in the door.
Is an aesthetic fridge actually worth the effort?
The look is a side effect; the real payoff is less food waste and faster meals, because you can see what you have. Aim for a system that works in real life rather than a fridge that photographs well once.