Category: Kitchen

  • How to Create a Coffee Station at Home in a Small Space

    How to Create a Coffee Station at Home in a Small Space

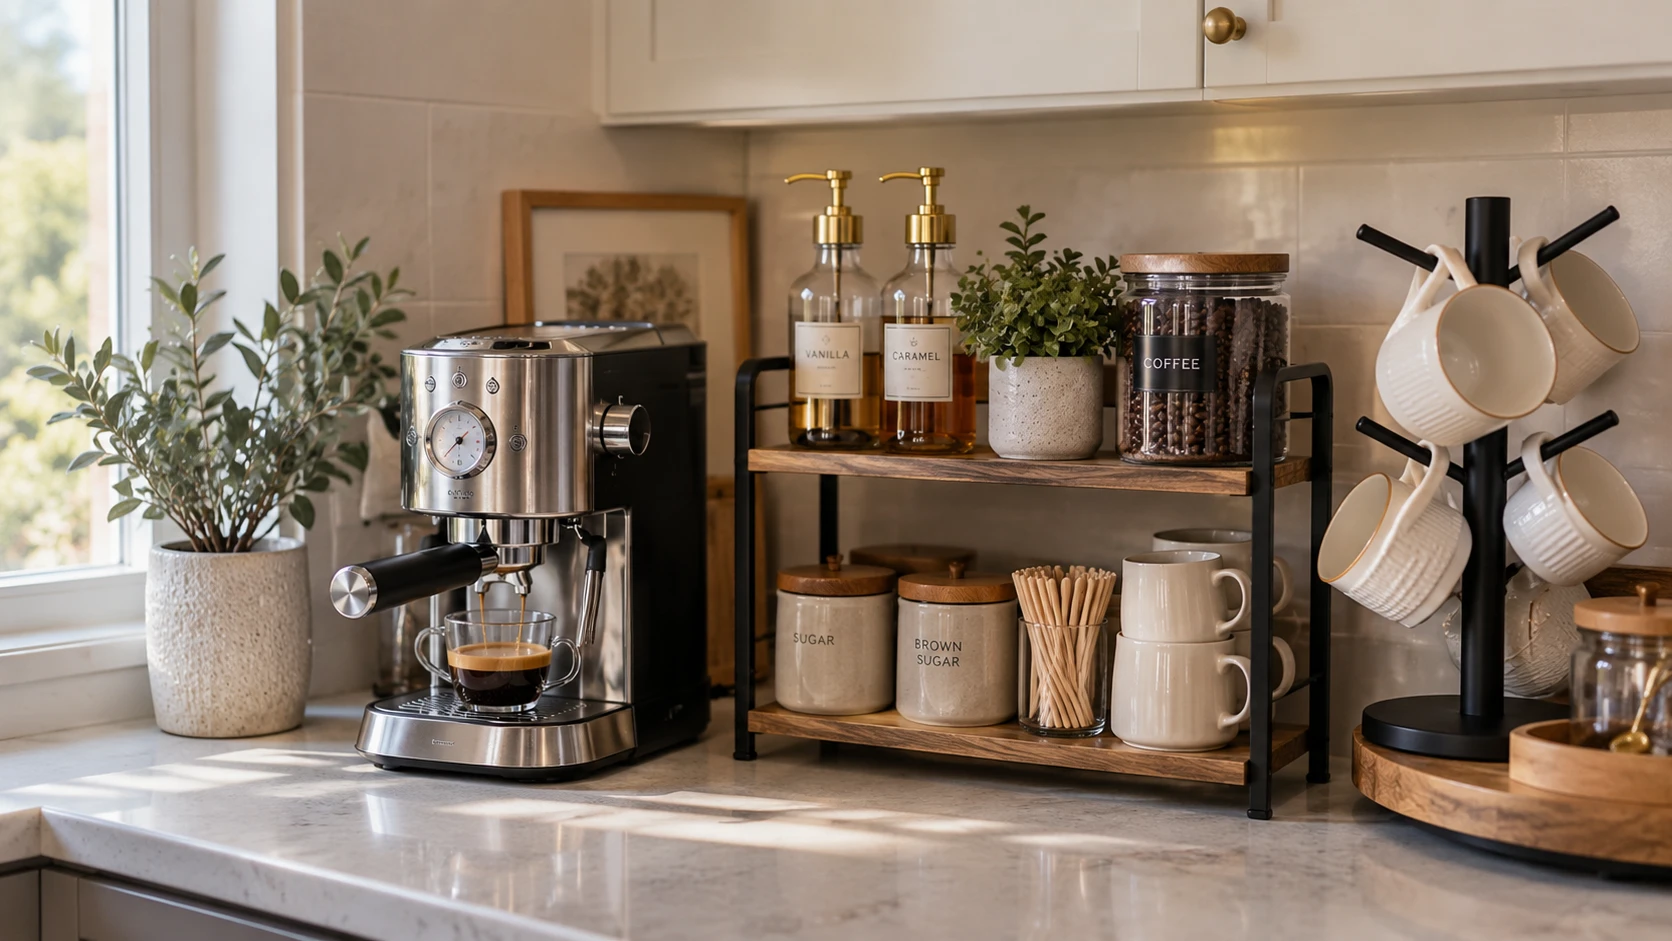
    A dedicated coffee station can make your morning routine easier, but it doesn’t have to take over your kitchen counter. With a few smart storage choices and a clear plan, you can create a coffee corner that feels organized, looks inviting, and keeps your everyday essentials within reach.

    Whether you make espresso, brew regular coffee, or enjoy flavored drinks with milk and syrup, the goal is the same: give everything a place without creating another cluttered surface.
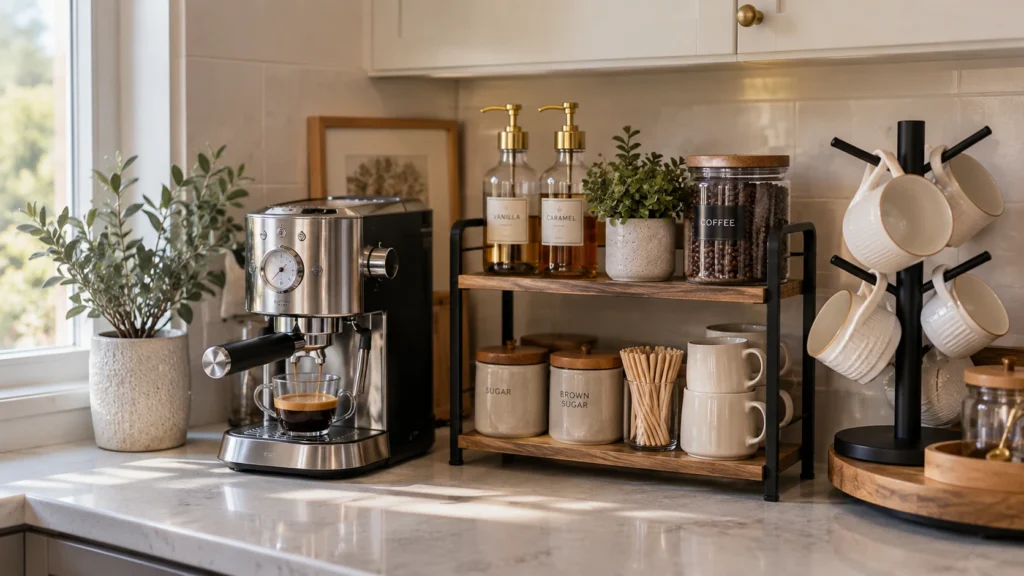
    Small home coffee station with an espresso machine, organized coffee supplies, and compact countertop storage.

    1. Choose a Spot That Fits Your Routine

    Start by looking for a location that makes sense for the way you prepare coffee. A small section of countertop near an outlet is often enough. You might also use a corner beside the refrigerator or a separate shelf if your kitchen has limited workspace.

    Before arranging anything, measure the available width and depth. Leave enough room to operate your coffee maker, fill a mug, and clean up comfortably.

    Keep the station away from areas where you regularly chop ingredients or prepare meals. Your coffee corner should make the kitchen more functional, not take away the workspace you need.

    2. Use a Two-Tier Organizer to Create More Room

    When counter space is limited, using vertical storage can make a noticeable difference. A two-tier organizer allows you to separate items by how you use them instead of spreading everything across the counter.

    The ANBOXIT two-tier coffee station organizer can hold items such as coffee supplies, syrup bottles, small containers, and accessories. You can reserve the upper level for frequently used essentials and the lower level for backup supplies or less frequently used items.
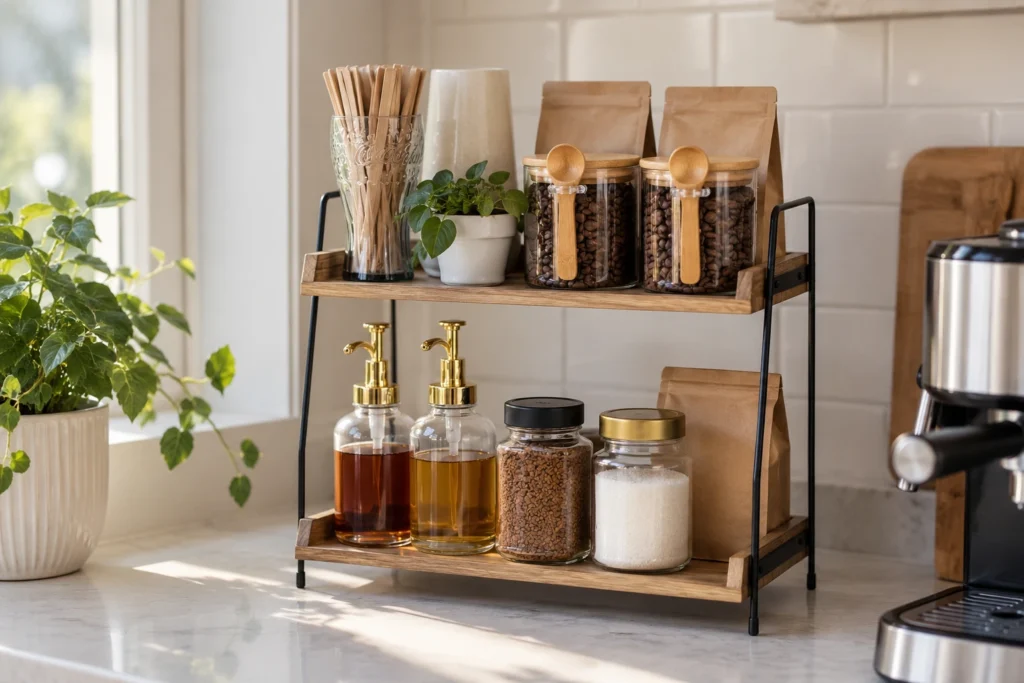
    Two-tier wood and black metal coffee station organizer holding coffee beans, syrups, and small kitchen essentials.

    Keep the arrangement simple. If every shelf is packed, the station may look just as cluttered as before. Leave some open space and store only the items you regularly use.

    Shop the organizer:

    3. Group Small Accessories on a Rotating Tray

    Small bottles and containers can quickly spread across a counter. A rotating tray keeps them together and makes it easier to reach what you need, especially when the station sits in a corner.

    The AMH farmhouse oak wood Lazy Susan organizer is an option for grouping syrup bottles, sugar, small jars, or other coffee accessories. Turn the tray to reach items at the back instead of moving several containers every time you make a drink.
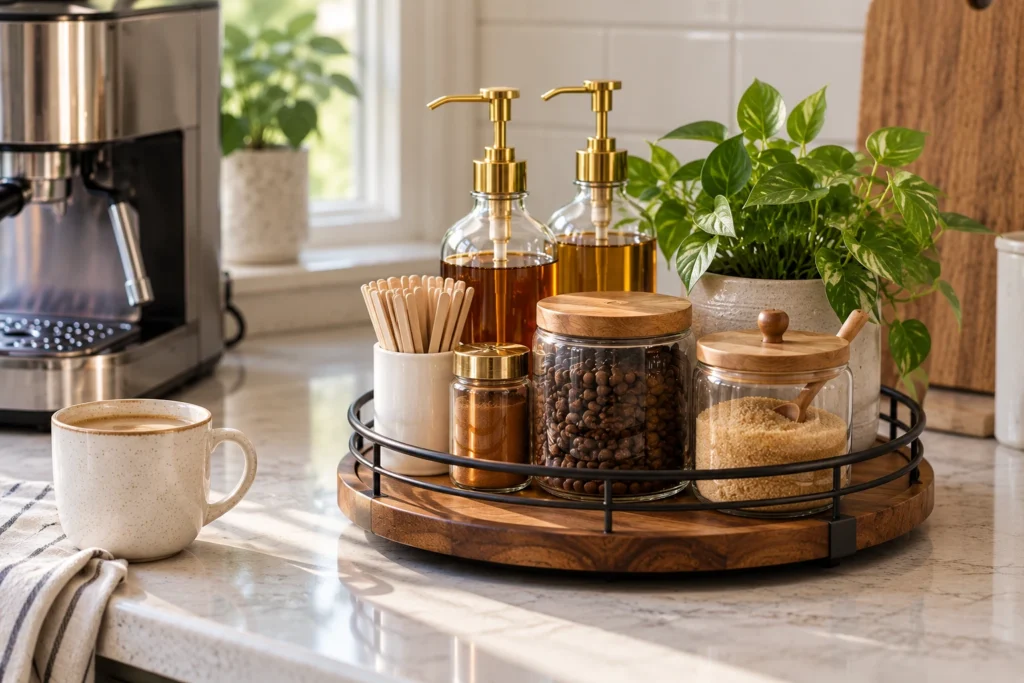
    Round wooden rotating tray with black metal rim organizing coffee syrups, beans, and sugar jars on a kitchen counter.

    Choose the items based on your routine. If you rarely use flavored syrups, keep only your favorites on the tray and store the rest elsewhere. The purpose is to make daily coffee preparation easier, not to display every ingredient you own.

    Shop the tray:

    4. Store Mugs Vertically

    Mugs are useful, but a collection of them can occupy an entire shelf or a large part of your countertop. A mug stand gives your everyday cups a dedicated place while keeping them easy to grab.

    The MyLifeUNIT mug holder uses a vertical design to display mugs on hooks. Place it where the cups are easy to reach but do not interfere with your coffee maker or the space where you prepare drinks.
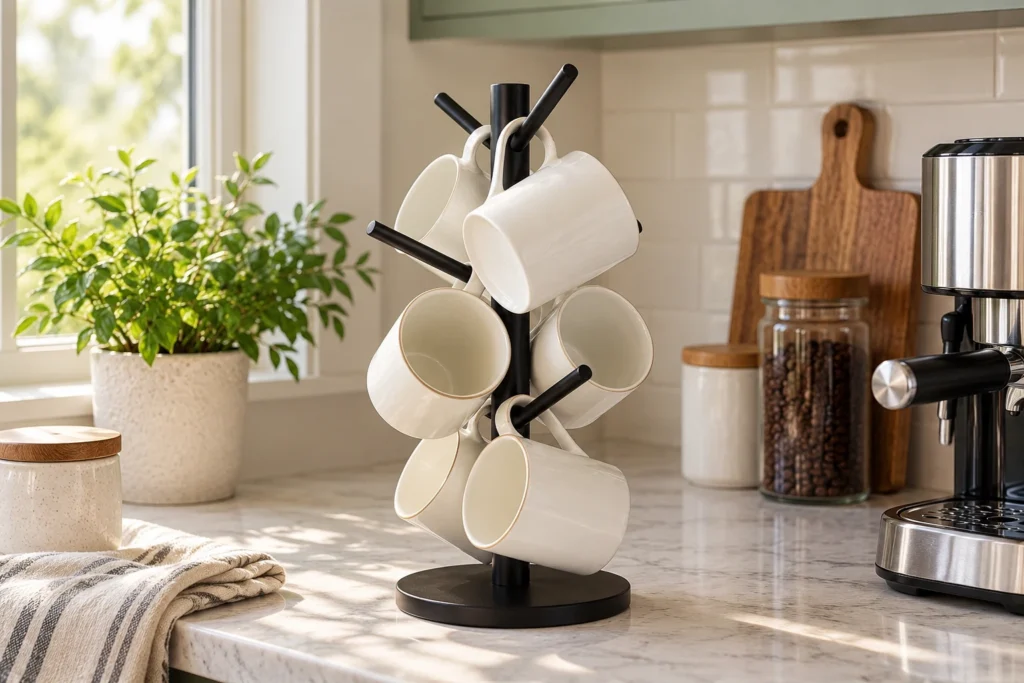
    Black metal mug tree holding cream ceramic mugs on a kitchen countertop beside a coffee machine.

    Start with the mugs you use most often. Store seasonal cups, oversized mugs, and extras in a cabinet so your coffee station remains compact.

    Shop the mug holder:

    5. Keep Coffee Syrups Together

    If you enjoy flavored coffee, syrup bottles can become one of the biggest sources of visual clutter. Different bottle shapes and labels may also make the station feel less cohesive.

    The New England Stories glass syrup dispenser set can help create a more coordinated setup for flavored drinks. Group the syrups together on your tray or organizer and keep the bottles you use most often within easy reach.
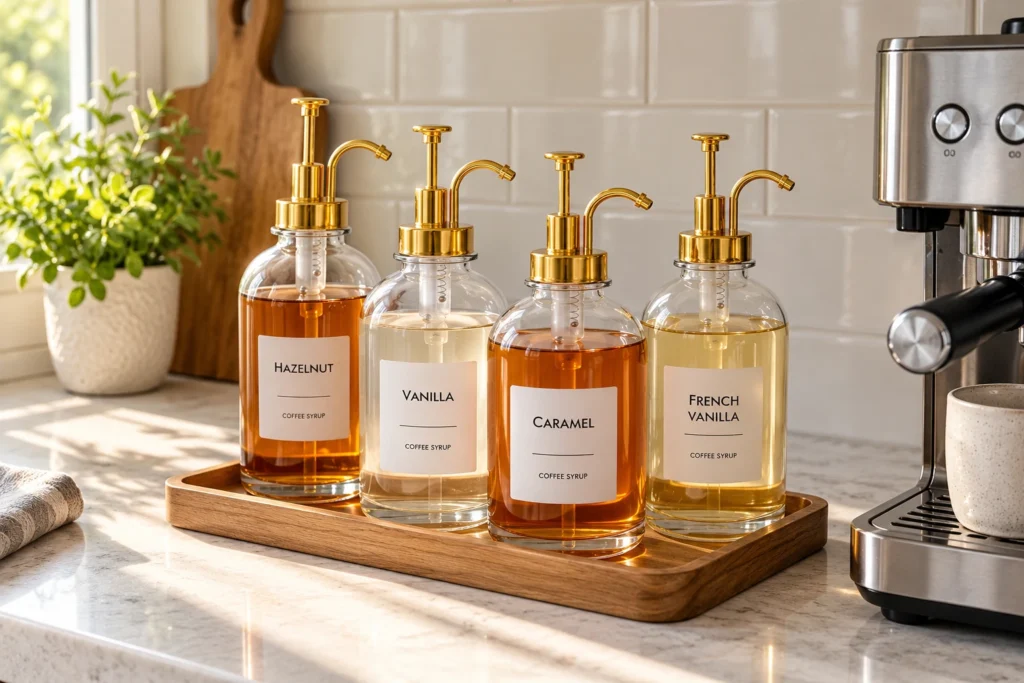
    Four glass coffee syrup dispensers with gold pumps arranged on a wooden tray beside an espresso machine.

    Avoid keeping more bottles out than you need. You can store extra flavors in a cabinet and rotate them when you want to change your routine.

    If you transfer syrups into separate dispensers, label them clearly and follow the storage instructions on the original product packaging.

    Shop the dispensers:

    6. Give Coffee Beans or Grounds a Dedicated Container

    Coffee packaging can be awkward to stack, and open bags may make a station look unfinished. A dedicated coffee container creates a consistent place for your everyday supply.

    The Veken coffee canister is designed for storing coffee and keeping it accessible. Place it near your coffee maker, away from heat, direct sunlight, and moisture. Follow the manufacturer’s instructions for using and cleaning the container.
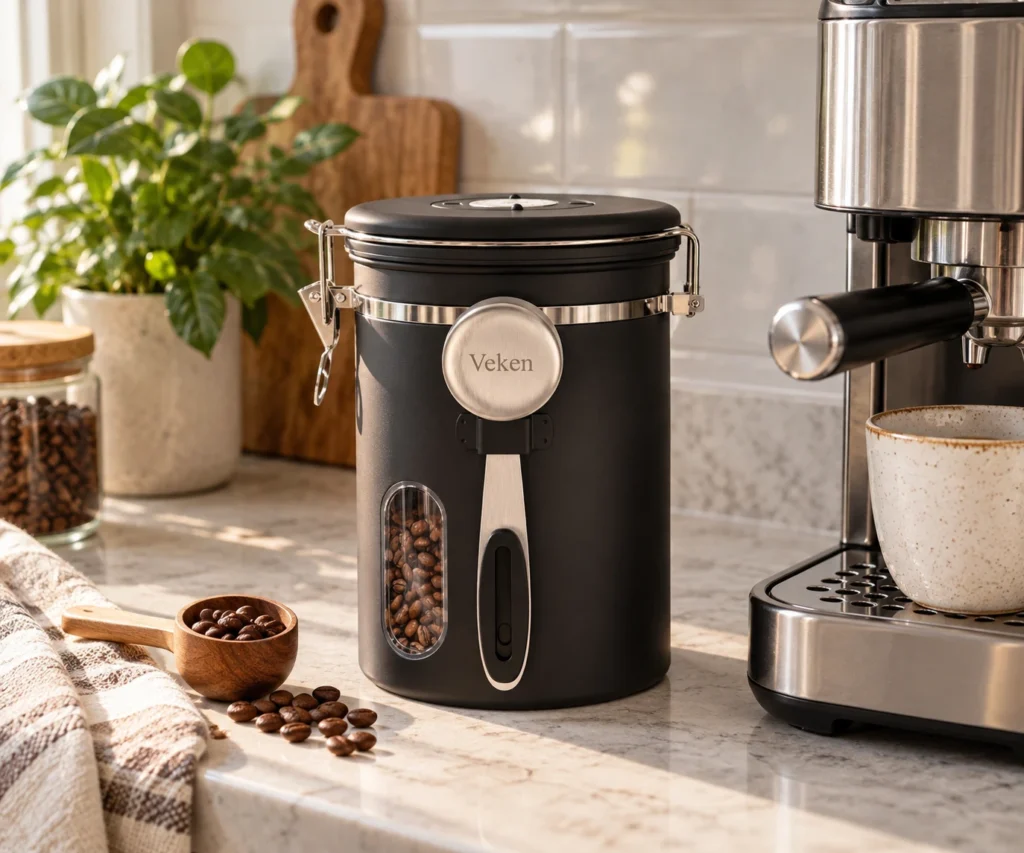
    Black Veken coffee canister with a viewing window beside an espresso machine on a kitchen counter.

    You don’t need to decant every ingredient in your kitchen. Start with the coffee you use daily, then decide whether sugar, tea, or other supplies would benefit from their own containers.

    Shop the canister:

    7. Choose a Coffee Maker That Matches Your Space

    Your coffee maker will probably be the largest item in the station, so measure before choosing its permanent location. Consider its footprint, the clearance needed to operate it, and whether you can refill and clean it easily.

    The Gevi 20 Bar Compact Espresso Machine is an option for a home coffee corner focused on espresso and milk-based drinks. Before purchasing, confirm that its dimensions and operating requirements suit your counter and routine.
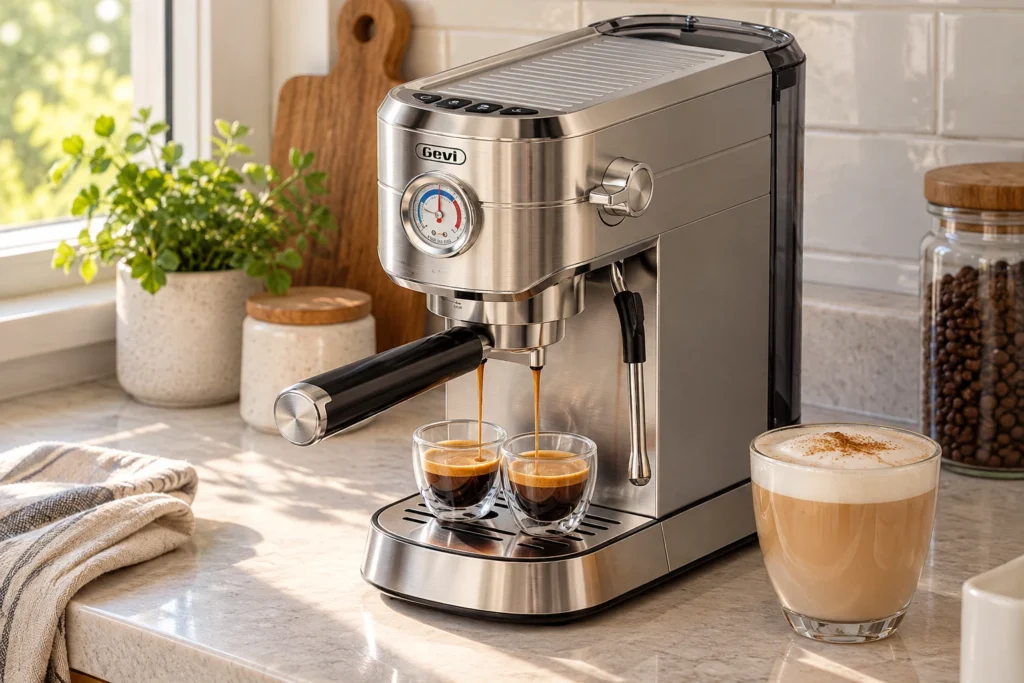
    Gevi stainless steel espresso machine with pressure gauge and steam wand on a kitchen counter.

    If you already own a coffee maker that works well, keep it. You do not need to replace an appliance just to create a more organized station. Better placement and storage can make a bigger difference than buying new equipment.

    Shop the espresso machine:

    8. Keep Only Everyday Essentials on Display

    A coffee station is easier to maintain when it contains only what you need regularly. Too many decorative objects, spare mugs, and rarely used accessories can take away valuable workspace.

    Try this simple arrangement:

    • Daily essentials: coffee maker, coffee, and your favorite mug.
    • Frequently used extras: sweetener, milk frother, or one or two syrup bottles.
    • Occasional items: extra mugs, seasonal flavors, and backup supplies stored in a cabinet.

    Leave a clear area where you can set down a mug and prepare your drink. An organized station should support your routine rather than require constant rearranging.

    9. Make the Coffee Corner Feel Intentional

    You can make a small station look cohesive without adding lots of decoration. Choose a simple color palette and repeat a few materials, such as wood, black metal, glass, or neutral ceramics.

    A small plant, one framed print, or a coordinated set of containers can add personality. Just avoid placing decorative items where they make cleaning difficult or compete with the space needed for coffee preparation.

    If your kitchen counter is already crowded, review the ideas in our guide to keeping kitchen counters clutter-free in a small kitchen. The same principle applies here: every item should have a clear purpose.

    10. Create a Two-Minute Coffee Station Reset

    A quick reset at the end of the day helps prevent the coffee corner from becoming another cluttered area.

    1. Return coffee, syrups, and accessories to their assigned spots.
    2. Wipe up spills and clean the area around the coffee maker.
    3. Wash used mugs and put away anything that doesn’t belong.
    4. Check whether any items can be moved off the counter.

    This small habit makes the station easier to use the next morning and helps protect the rest of your kitchen workspace.

    What Do You Need for a Small Coffee Station?

    You can start with just a few essentials. The right setup depends on your available space and the drinks you make.

    • A coffee maker that fits your counter.
    • A tray or tiered organizer to group supplies.
    • A mug holder if cabinet or counter space is limited.
    • A dedicated container for coffee beans or grounds.
    • Syrup dispensers if you regularly make flavored drinks.

    You don’t need to purchase everything at once. Start with the items that solve your biggest organizational problem and add more only if they make your routine easier.

    Common Coffee Station Mistakes to Avoid

    Choosing a spot before measuring. A coffee maker may need more clearance than expected. Measure the area and account for how the machine opens, fills, or operates.

    Displaying too many products. A large collection of syrups, mugs, and accessories can make a small station feel crowded. Keep your favorites accessible and store extras elsewhere.

    Ignoring cleaning and maintenance. Coffee grounds, syrup drips, and water spills build up quickly. Leave enough room to wipe surfaces and clean your equipment.

    Buying organizers that don’t fit your routine. A product is useful only if it makes your daily process easier. Check measurements and consider what you actually need to store.

    Decorating before organizing. First establish where the coffee maker and supplies belong. Add decorative touches only after the station works well.

    Frequently Asked Questions

    How much space do you need for a coffee station?

    A coffee station can fit on a small section of countertop. Measure your coffee maker first, then allow room for a mug and the supplies you use daily. Vertical storage can help you make better use of limited space.

    What should you put on a coffee station?

    Start with your coffee maker, coffee, mugs, and any daily essentials such as sugar or your favorite syrup. Store backup supplies and rarely used accessories elsewhere to keep the surface clear.

    How do you organize a coffee station on a budget?

    Use items you already own before buying organizers. Repurpose a tray, limit the number of mugs on display, and group small accessories together. Purchase new storage only when it solves a specific problem.

    How can you make a coffee station look aesthetic?

    Choose a consistent color palette, group similar items, and leave some open space. A few coordinated containers or one small decorative accent can create a polished look without overcrowding the counter.

    Where should you put a coffee station in a small kitchen?

    Look for an accessible counter corner near a suitable outlet, while keeping the main food-preparation area clear. Check the appliance’s operating requirements and avoid placing it where heat, moisture, or daily kitchen activity will interfere.

    Final Thoughts

    Creating a coffee station at home doesn’t require a dedicated room or a large countertop. A well-chosen location, a few useful organizers, and a clear system for everyday supplies can make your morning routine more convenient.

    Start with the space you have, keep only the essentials within reach, and add storage where it genuinely helps. The best coffee station is one that fits your kitchen and makes daily coffee easier to enjoy.

    Shop the Coffee Station Finds

    Here are the products featured in this guide:

    This post may contain affiliate links. If you purchase through these links, Home Finds Studio may earn a commission at no additional cost to you.
  • How to Keep Kitchen Counters Clutter-Free in a Small Kitchen

    How to Keep Kitchen Counters Clutter-Free in a Small Kitchen

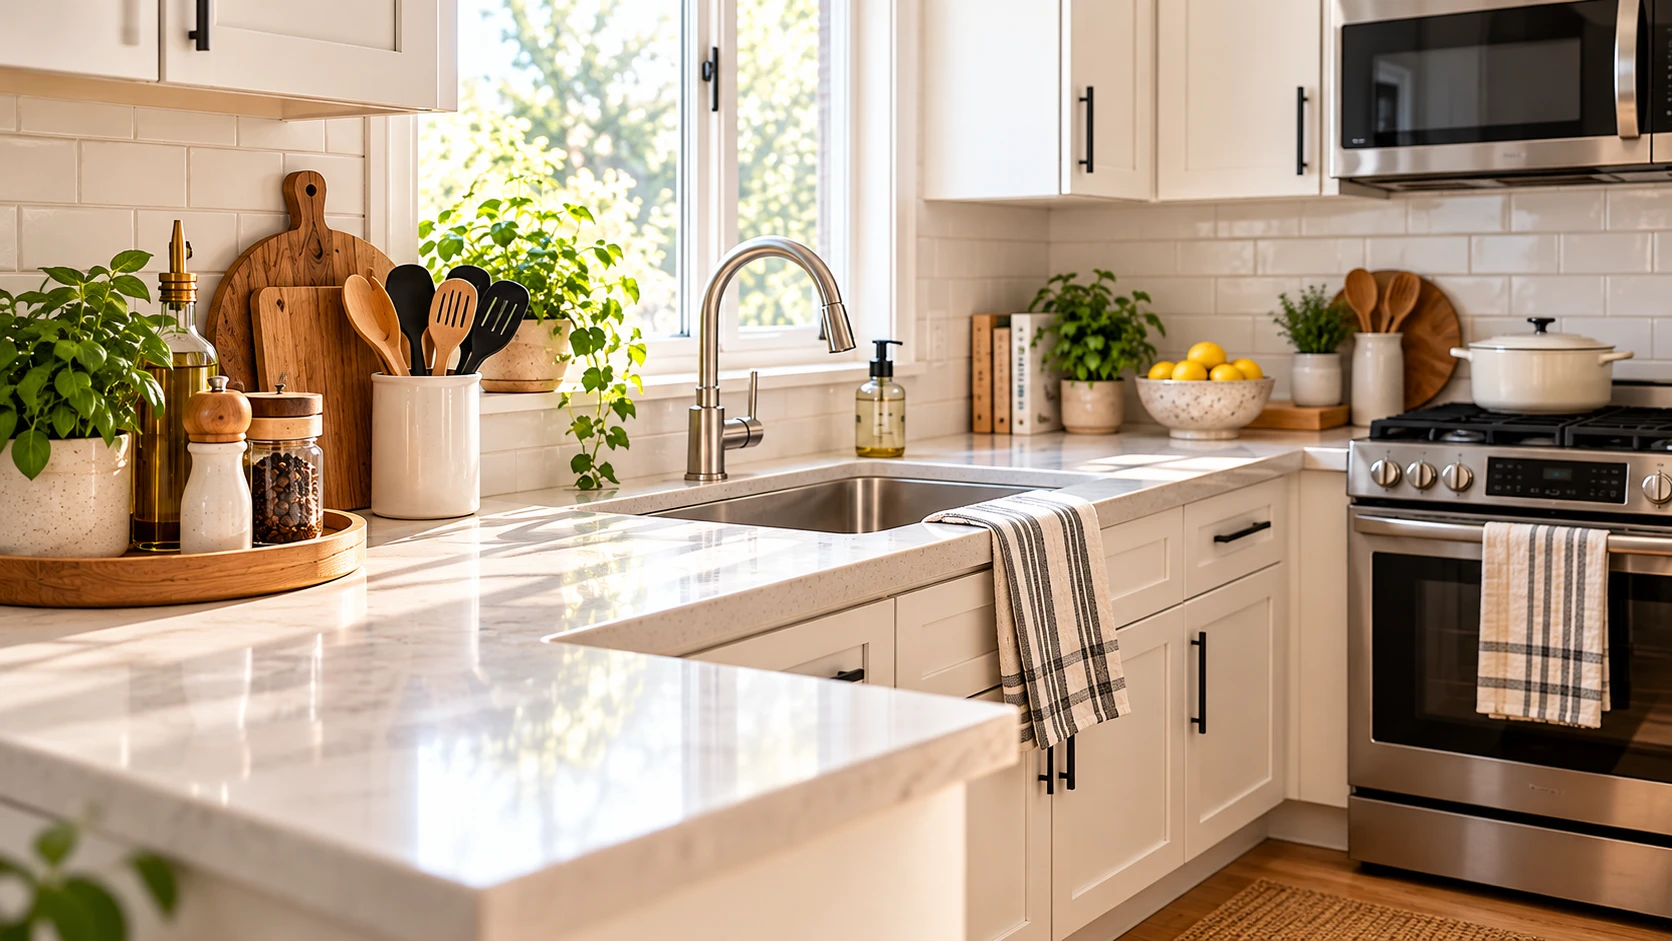
    Bright kitchen with organized countertops and clear workspace

    You clean your kitchen, put a few things away, and wipe down the counters. But somehow, a few hours later, everything is right back where it started.

    The coffee maker sits beside the toaster. Cooking utensils collect near the stove. Mail lands next to the fruit bowl, and small appliances take up the workspace you need to prepare meals.

    If this sounds familiar, you probably don’t need to clean more often. You need a better system for deciding what belongs on your counters and where everything else should go.

    The good news is that you can make a small kitchen feel more organized without remodeling, buying expensive cabinets, or hiding everything you use every day.

    These practical kitchen counter organization ideas will help you reclaim your workspace while keeping your kitchen comfortable, attractive, and easy to maintain.

    1. Decide What Actually Deserves a Spot on Your Counter

    The first step is not buying organizers. It’s deciding what you genuinely need within reach.

    Look at everything currently sitting on your countertops and ask yourself three questions:

    • Do I use this almost every day?
    • Is it difficult or inconvenient to store somewhere else?
    • Does keeping it here make cooking easier?

    Your coffee maker might deserve a permanent spot if you use it every morning. An appliance you use twice a month probably doesn’t need to occupy valuable workspace.

    Create three groups:

    Keep on the counter: Everyday essentials you use frequently.

    Store nearby: Items you use regularly but don’t need to see all day.

    Remove: Things that don’t belong in the kitchen or that you no longer use.

    You don’t need completely empty countertops. You need enough clear space to work comfortably.

    2. Create a Coffee Station Without Losing Your Workspace

    Coffee makers, mugs, sugar containers, coffee bags, and accessories can quickly take over a small kitchen.

    Instead of spreading everything across the counter, create one compact coffee station.

    Start by grouping your essentials together. Use a small tray to keep frequently used accessories contained, and store extra mugs or coffee supplies in a nearby cabinet.

    If your counter is particularly narrow, consider a compact coffee cart or a shelf that fits your available space.

    Products worth considering:

    • A small coffee station tray
    • A compact mug holder
    • Airtight coffee storage containers
    • A narrow rolling cart

    Choose only what solves your specific problem. A tray is helpful when it contains a few items, but it won’t create more space if you use it to collect clutter.

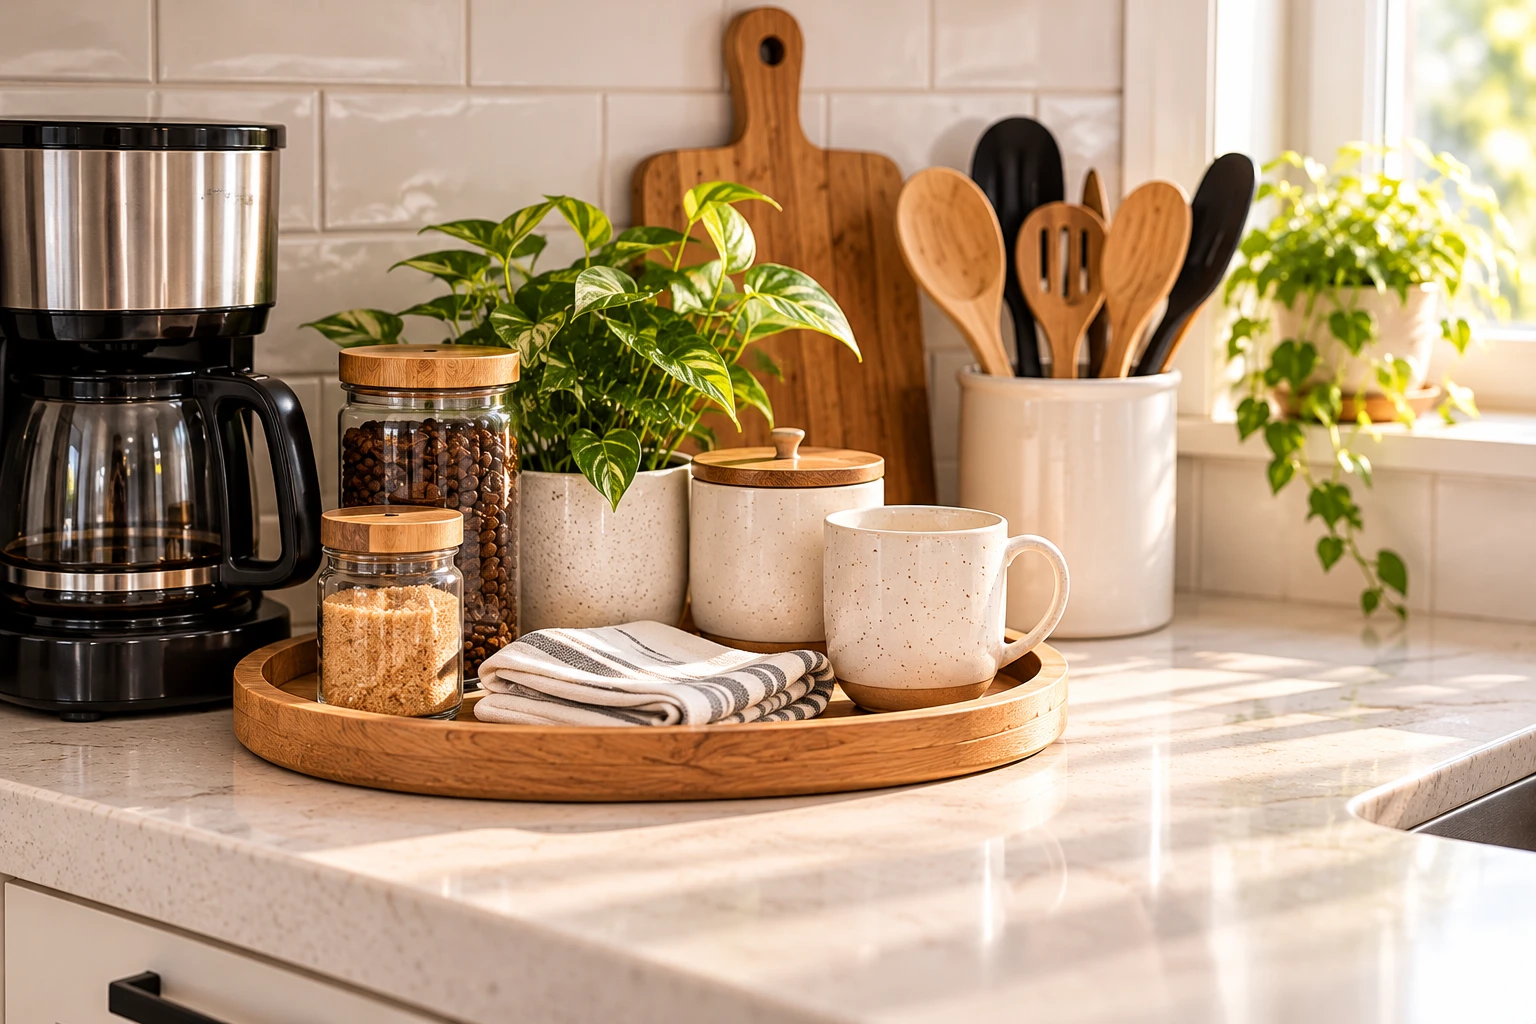
    Organized kitchen coffee station with a wooden countertop tray, coffee maker, jars, and ceramic mug

    3. Move Cooking Essentials Closer to Where You Use Them

    Cooking utensils often accumulate beside the stove because that’s where they’re most convenient.

    You don’t necessarily need to put everything away. Instead, reduce the number of items occupying your workspace.

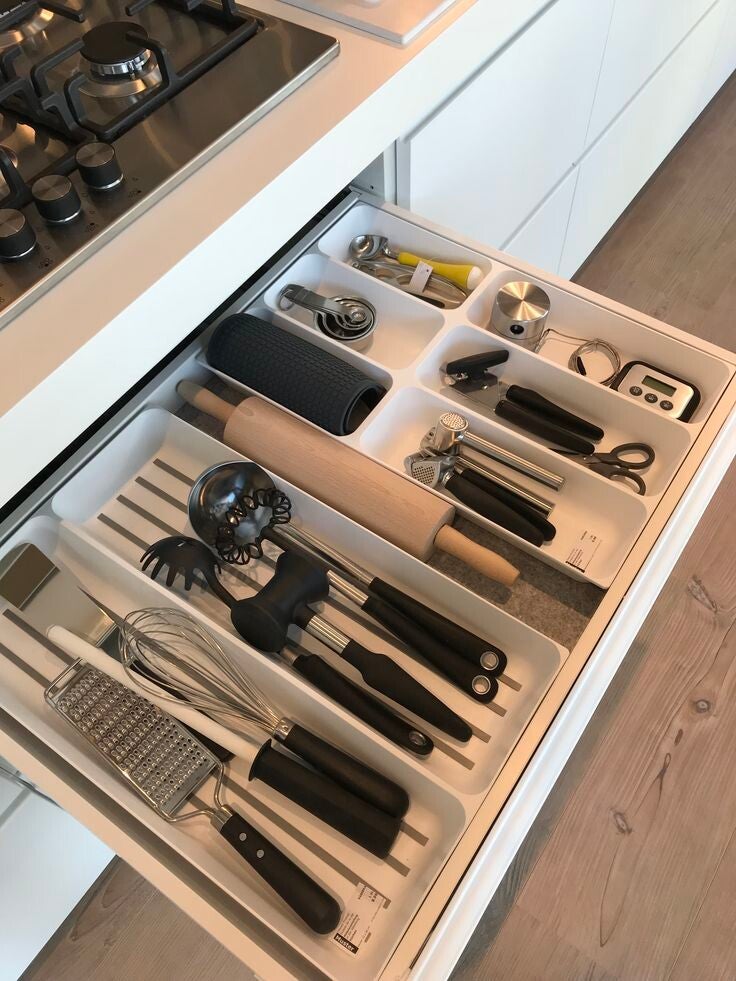
    Keep your most frequently used utensils in one compact holder. Store duplicate tools, specialty gadgets, and less frequently used utensils in a nearby drawer.

    If your drawers are crowded, drawer dividers can help you use the space more efficiently.

    For kitchens with limited counter space, a wall-mounted utensil rail may also be worth considering, provided it can be installed safely and kept away from heat sources.

    Products worth considering:

    • Adjustable drawer dividers
    • A compact utensil holder
    • A wall-mounted utensil rail
    • A magnetic knife strip suitable for your kitchen setup

    The goal is to keep cooking tools accessible without allowing them to spread across the entire counter.

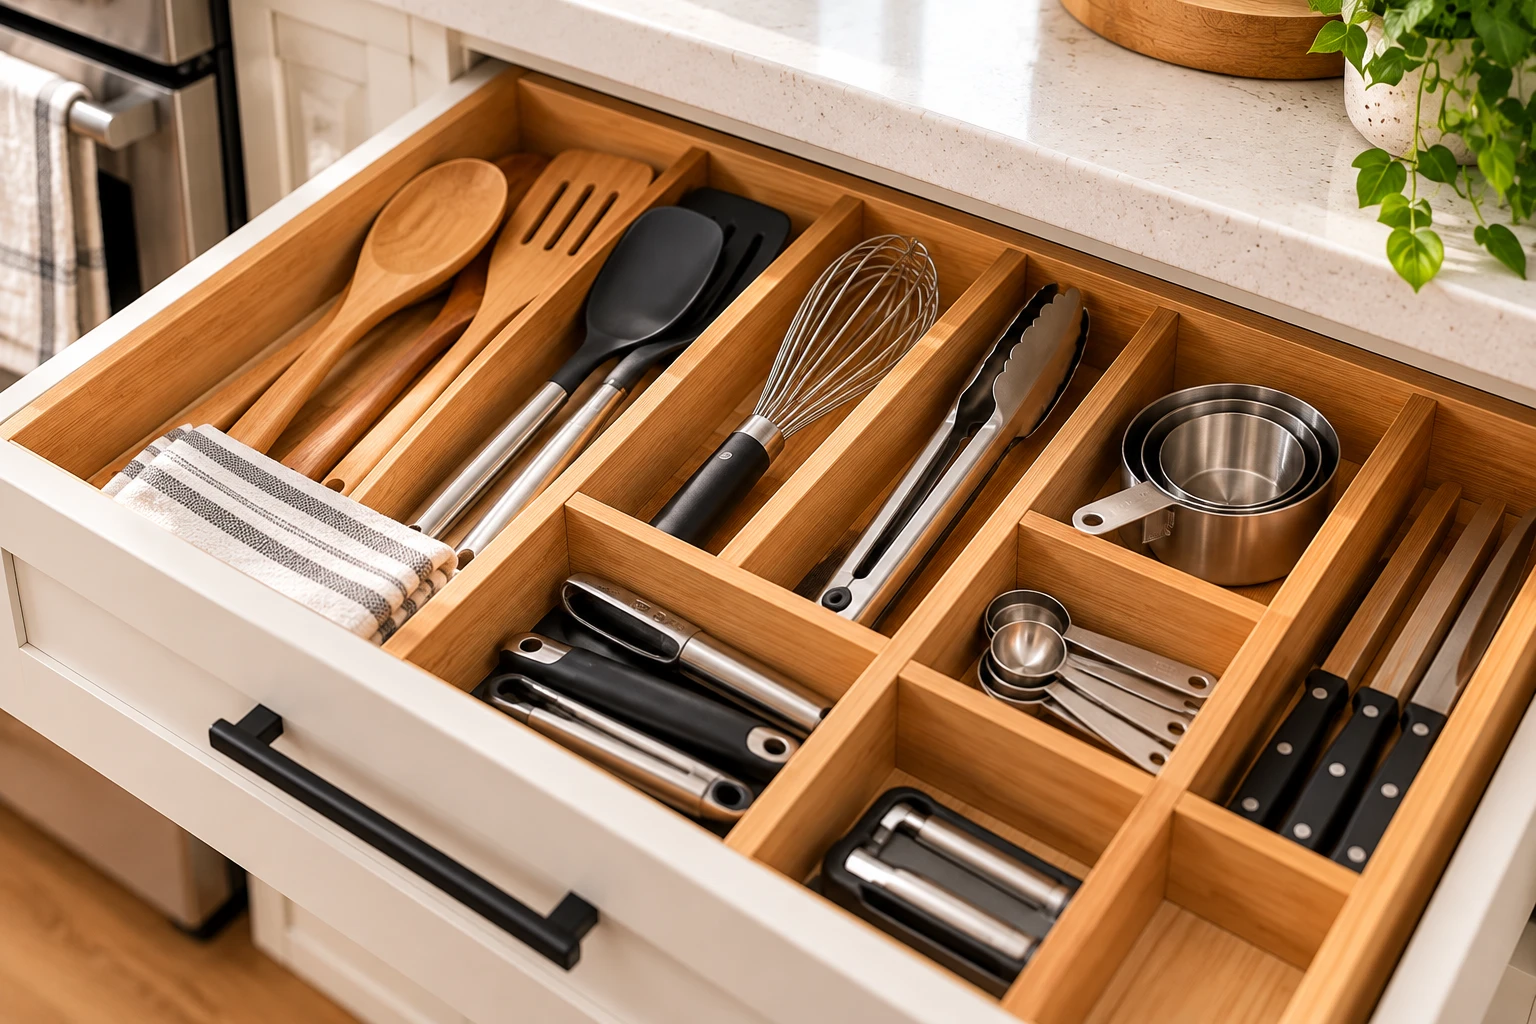
    Kitchen drawer neatly organized with bamboo dividers for cooking utensils

    4. Use the Space Inside Your Cabinets

    Sometimes the problem isn’t a lack of cabinets. It’s that the available space isn’t being used efficiently.

    Before purchasing more storage, inspect the cabinets closest to your main workspace.

    Could you store more items there if you added a shelf riser? Would drawer dividers help? Could you move occasional-use appliances to a higher shelf?

    A few small adjustments can make existing cabinets more functional.

    Consider:

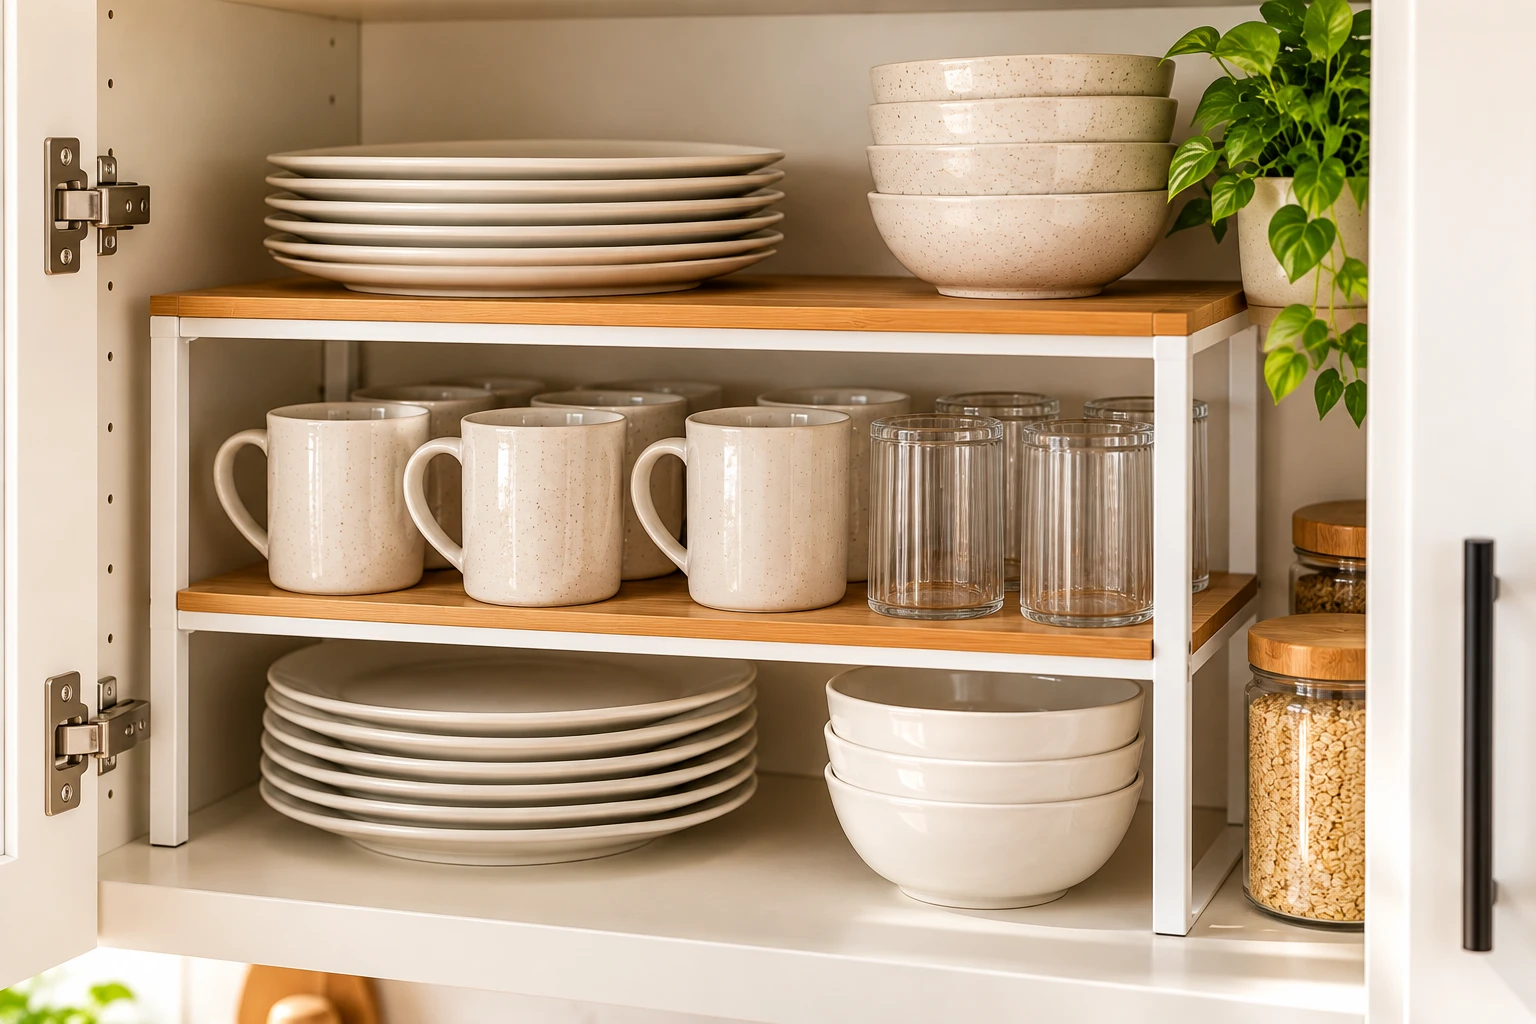
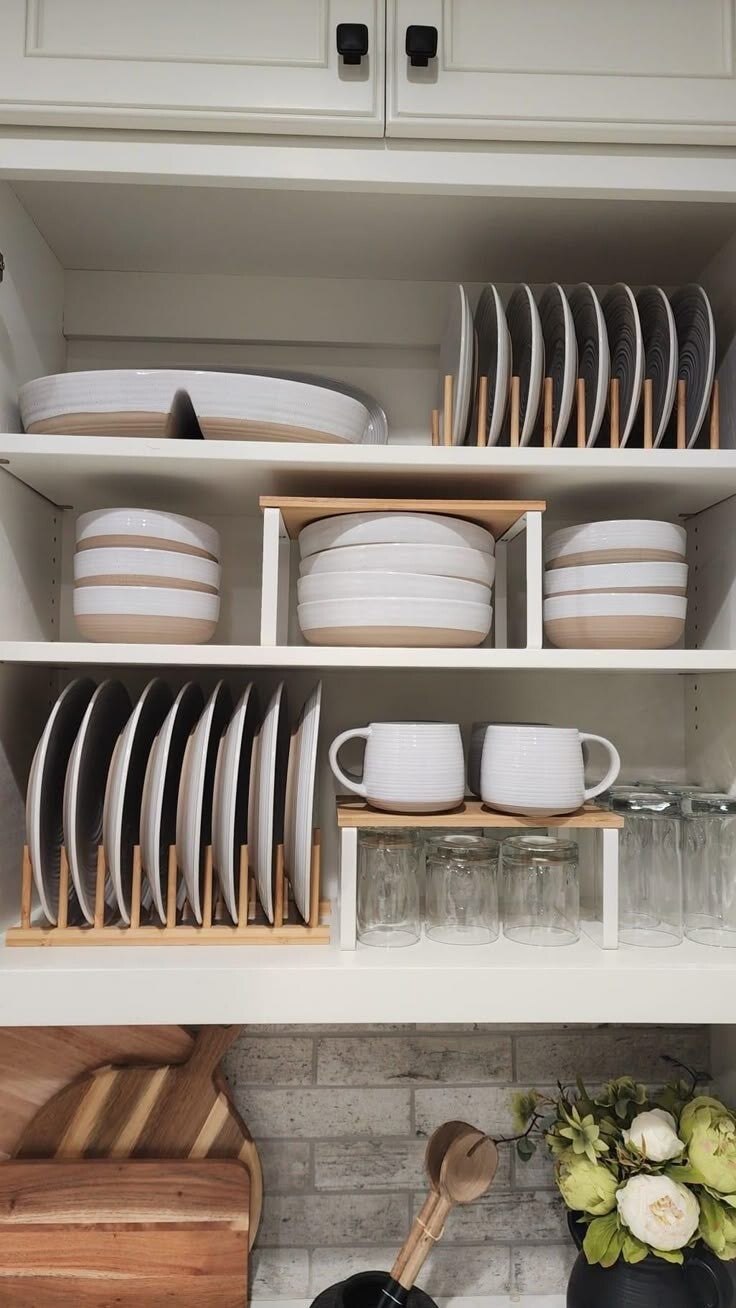
    • Shelf risers for cups, bowls, and pantry items
    • Drawer organizers for utensils and small tools
    • Pull-out organizers for suitable cabinets
    • Vertical dividers for cutting boards and baking sheets

    Measure the available space before buying anything. Cabinet dimensions, hinges, plumbing, and shelf heights can affect whether an organizer will fit.

    Kitchen cabinet with a shelf riser organizing plates, bowls, and mugs

    For more ideas, read our guide to 18 Amazon Kitchen Organization Products That Actually Save Space.

    5. Give Mail, Keys, and Random Items a Different Home

    Not everything cluttering your kitchen counter belongs in the kitchen.

    Mail, receipts, keys, chargers, school papers, and bags often land on the nearest available surface because there isn’t an obvious alternative.

    Create a designated drop zone somewhere more appropriate, such as an entryway shelf, wall organizer, or small basket near the door.

    If you must keep paperwork in the kitchen, use one compact file holder and establish a regular time to sort it.

    The important part is creating a convenient place for these items before they reach your countertop.

    A beautiful kitchen organizer won’t solve a problem caused by belongings that don’t have a proper home.

    6. Make the Space Around Your Sink Easier to Maintain

    The area around the kitchen sink often becomes crowded with dish soap, sponges, brushes, hand soap, and dish-drying accessories.

    Start by removing anything you don’t use regularly.

    Then decide which essentials need to remain within reach and which can be stored under the sink.

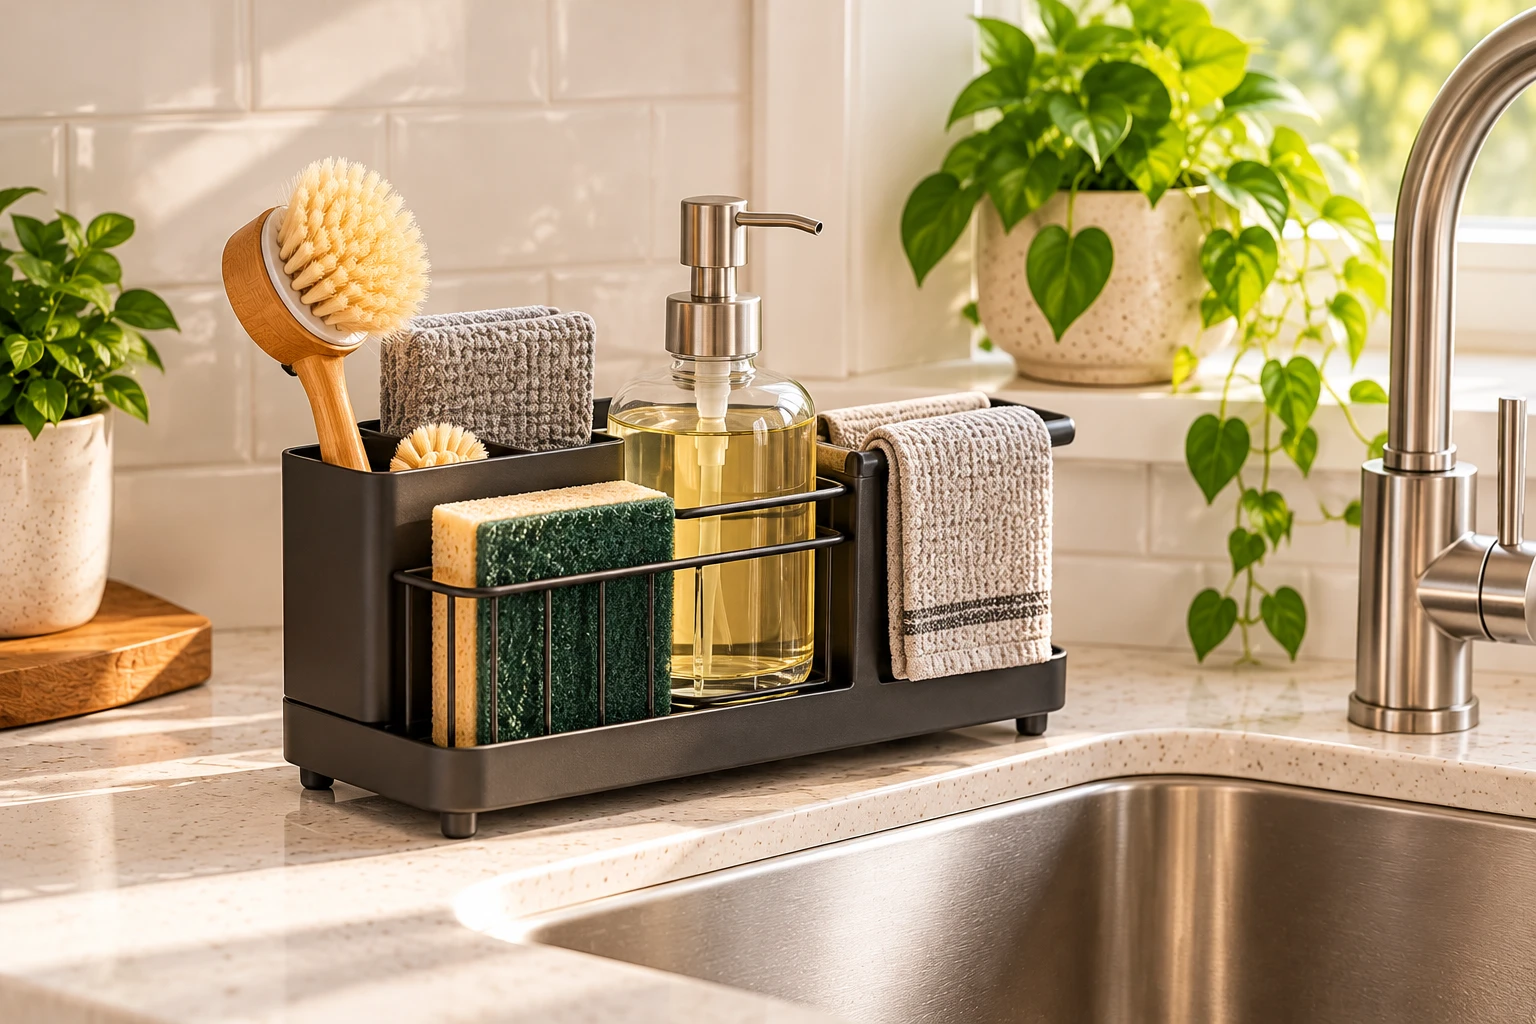
    A compact sink caddy can contain sponges and brushes. A suitable dish-drying rack can help if you wash dishes by hand, but choose one that fits your sink and doesn’t unnecessarily consume your preparation area.

    If you use a drying mat instead, put it away when it’s no longer needed, provided your dishes and the mat are dry.

    Products worth considering:

    • A compact sink caddy
    • A space-saving dish-drying rack
    • A washable drying mat
    • An under-sink organizer for cleaning supplies

    Keep cleaning products safely stored, away from food and food-contact items. Make sure the cabinet remains accessible and that organizers don’t interfere with plumbing or create moisture problems.

    Kitchen sink caddy organizing dish soap, brushes, and sponges

    7. Store Small Appliances According to How Often You Use Them

    Small appliances can be some of the biggest countertop space users.

    Think about your toaster, blender, air fryer, stand mixer, slow cooker, and food processor.

    Instead of giving every appliance a permanent spot, group them by how frequently you use them.

    Daily-use appliances: Keep accessible, with enough room to operate them safely.

    Weekly-use appliances: Store in an easy-to-reach cabinet or pantry shelf.

    Occasional-use appliances: Place in less frequently accessed storage, provided they can be lifted safely.

    Don’t put heavy appliances on high shelves or store them somewhere that makes them difficult to retrieve.

    You should also follow each appliance manufacturer’s ventilation, clearance, and operating instructions. Some appliances need open space around them when in use.

    A little planning can free up a surprising amount of counter space without making everyday cooking inconvenient.

    8. Use Vertical Storage Carefully

    When floor and cabinet space are limited, vertical storage can help.

    Depending on your kitchen layout, useful options may include:

    • Wall-mounted shelves
    • Magnetic spice organizers
    • Hooks for lightweight kitchen accessories
    • Cabinet-door organizers
    • A narrow shelf for frequently used items

    However, more storage isn’t always better.

    Too many shelves, baskets, and hanging accessories can make a small kitchen look visually busy. Keep the most frequently used items accessible and avoid placing heavy or breakable objects where they could fall.

    If you’re renting, look for suitable removable solutions, but always check the manufacturer’s weight limits and installation requirements.

    Choose one or two vertical storage solutions that address an actual problem rather than filling every available wall.

    9. Reduce Visual Clutter Without Sacrificing Function

    A kitchen can be clean and still look cluttered.

    This often happens when too many unrelated objects compete for attention: mismatched containers, packaging, decorative items, appliances, and small accessories.

    You don’t need to buy matching containers for everything.

    Instead, try these simple changes:

    • Group similar items together.
    • Keep decorative objects to a minimum.
    • Store duplicate supplies out of sight.
    • Use one tray to contain a small group of everyday essentials.
    • Choose a consistent look for any storage that remains visible.
    • Leave some counter space completely empty.

    If you enjoy decorating your kitchen, keep one or two items you genuinely love. The goal is not to remove personality from your home. It’s to make the space feel intentional.

    10. Create a Five-Minute Kitchen Counter Reset

    The easiest way to keep counters clutter-free is to make resetting them part of your routine.

    You don’t need to reorganize the entire kitchen every evening.

    Try this five-minute reset:

    Minute 1: Put away food, ingredients, and items left over from cooking.

    Minute 2: Return appliances and utensils to their designated places.

    Minute 3: Move mail, keys, and unrelated belongings to their proper homes.

    Minute 4: Wash or put away dishes and clear the sink area.

    Minute 5: Wipe the counters and leave your main preparation area clear.

    The routine works best when every item already has a convenient place to go.

    If putting something away takes too many steps, reconsider where you’re storing it.

    The best organization system is one you can maintain even on a busy day.

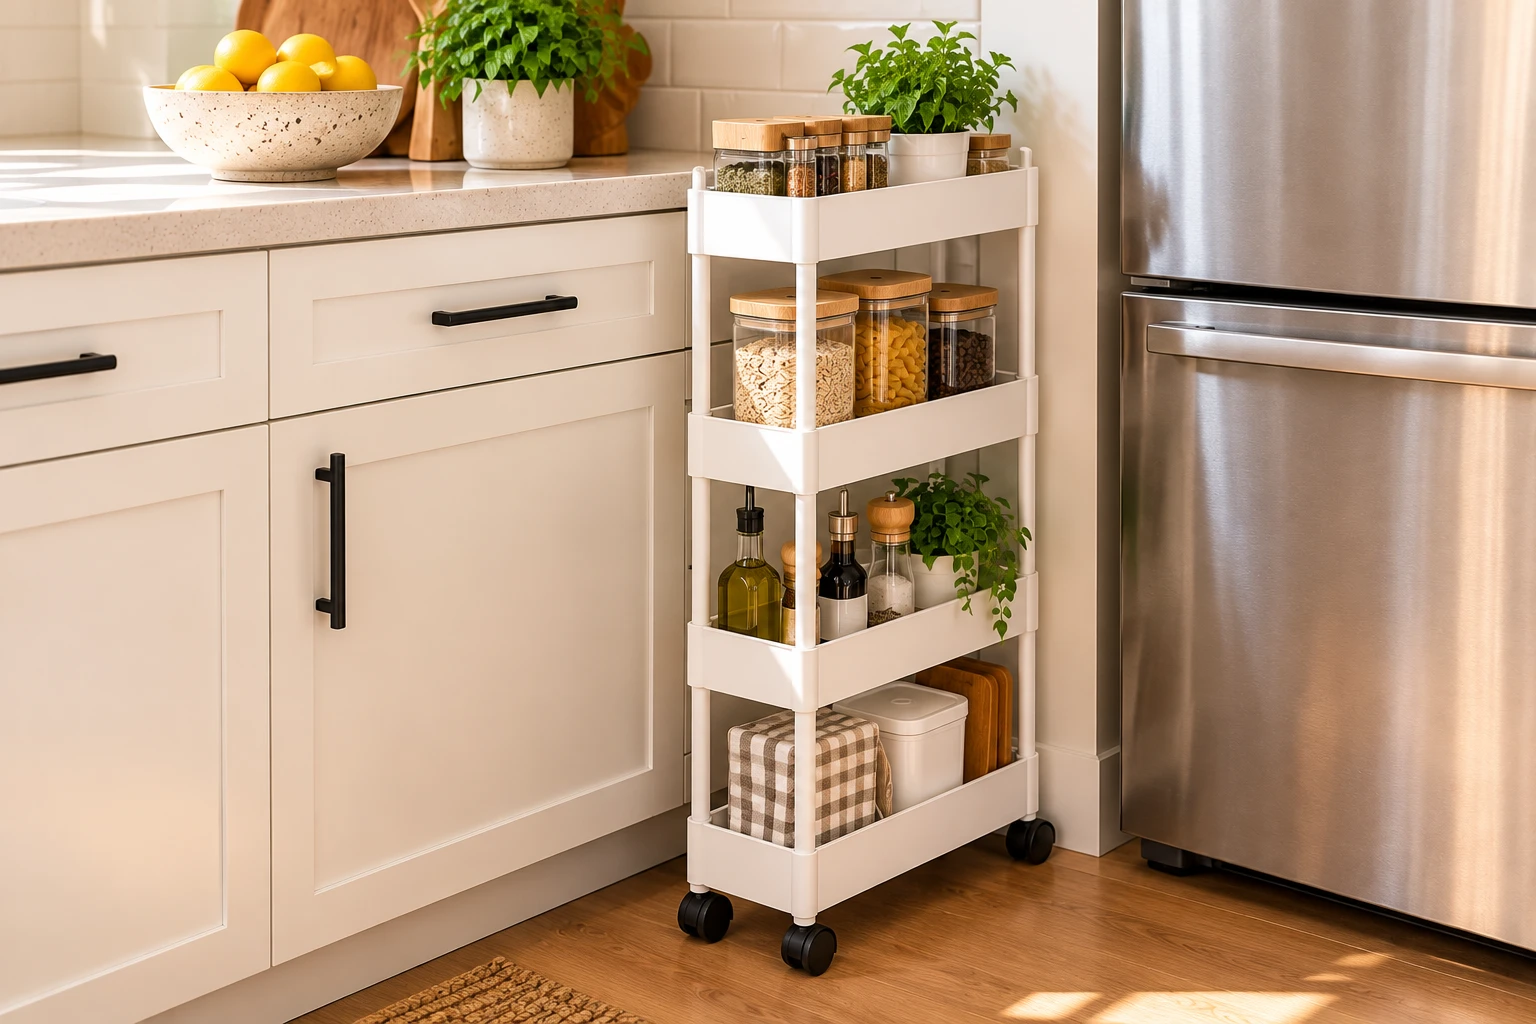
    Slim white rolling kitchen storage cart beside a refrigerator, organizing pantry essentials

    What to Buy to Keep Kitchen Counters Clutter-Free

    If you’ve tried decluttering but still struggle with limited space, a few carefully chosen products may help.

    Here are the most useful categories to consider:

    1. Cabinet shelf risers: Help you make better use of vertical space inside cabinets.
    2. Adjustable drawer dividers: Keep utensils and small kitchen tools separated.
    3. Compact sink caddy: Keeps dishwashing essentials contained.
    4. Small countertop tray: Groups a few frequently used items into one defined area.
    5. Under-sink organizer: Makes cleaning supplies easier to access.
    6. Magnetic spice organizer: Can free up cabinet or counter space when compatible with your kitchen.
    7. Slim rolling cart: Provides additional storage if you have a suitable gap and enough clearance.
    8. Vertical cutting-board organizer: Keeps boards and baking sheets organized inside a cabinet.
    9. Compact dish-drying rack: Helps manage dishes in kitchens without much counter space.
    10. Drawer storage containers: Keep small accessories organized without adding more items to the countertop.

    The goal isn’t to buy all ten. Choose the products that solve the problems you actually have.

    Common Mistakes That Make Kitchen Counters Cluttered Again

    Even a well-organized kitchen can become messy if the underlying habits don’t change.

    Watch out for these common mistakes:

    Buying organizers before decluttering. You can end up creating more storage for items you don’t need.

    Keeping everything within reach. Convenient access doesn’t mean every item needs to remain visible.

    Choosing storage that is difficult to use. If an organizer is awkward to access, you’re less likely to put things away.

    Ignoring the source of the clutter. Mail, bags, and personal belongings need their own designated homes.

    Trying to make every surface decorative. Empty workspace is useful, especially in a small kitchen.

    Creating a system that requires too much effort. The simpler it is to reset your kitchen, the more likely you are to maintain it.

    Frequently Asked Questions

    How do I keep my kitchen counters clutter-free in a small kitchen?

    Start by removing items you rarely use, storing appliances according to how frequently you need them, and assigning everyday essentials a designated home. Use cabinet space efficiently before adding more organizers.

    What should I keep on my kitchen counters?

    Keep items you use frequently and that benefit from being accessible, such as a daily-use coffee maker or a compact utensil holder. The right selection depends on your cooking habits and available workspace.

    How can I organize kitchen counters without buying anything?

    Remove unrelated belongings, return unused appliances to cabinets, group similar items, and establish a simple daily reset. Rearranging existing cabinet storage can also free up space.

    What products help organize a small kitchen?

    Shelf risers, drawer dividers, compact sink caddies, vertical organizers, and slim rolling carts can help when they fit the available space and solve a specific storage problem.

    How do I stop clutter from returning to my kitchen counters?

    Give every frequently used item a convenient place, create a separate home for mail and personal belongings, and spend a few minutes resetting the kitchen each day.

    Final Thoughts

    Keeping your kitchen counters clutter-free isn’t about having a perfectly styled kitchen or hiding everything you own.

    It’s about making your kitchen easier to use.

    When everyday essentials have a place, cabinets work efficiently, and unrelated belongings stay off your counters, even a small kitchen can feel more spacious and functional.

    Start with one area that frustrates you most. Clear it, create a simple system, and only buy an organizer if you genuinely need one.

    You may find that the best kitchen upgrade isn’t a renovation at all. It’s reclaiming the workspace you already have.

    Shop the Home Finds

    Looking for practical ways to make your kitchen work better? Explore these organization solutions:

    This post may contain affiliate links. If you purchase through these links, Home Finds Studio may earn a commission at no additional cost to you.
  • How to Store Rice in Your Pantry: 7 Smart Rice Storage Ideas

    How to Store Rice in Your Pantry: 7 Smart Rice Storage Ideas

    Editorial image for inspiration. Product appearance may vary.

    Home Finds Studio is a participant in the Amazon Services LLC Associates Program. As an Amazon Associate, we earn from qualifying purchases — at no extra cost to you.

    Rice is one of those pantry staples that can quickly become difficult to organize, especially when you buy it in larger quantities.

    Large bags can take up valuable shelf space, make it harder to see how much you have left, and aren’t always convenient when you’re cooking.

    The good news is that you don’t need to completely redesign your pantry to make rice storage easier.

    Here are 7 practical rice storage ideas that can help create a cleaner, more organized kitchen.

    1. Use a Dedicated Rice Dispenser

    One of the simplest ways to organize rice is to give it a dedicated storage container instead of keeping it in a large bag.

    A rice dispenser can make it easier to portion rice while keeping the pantry looking more organized.

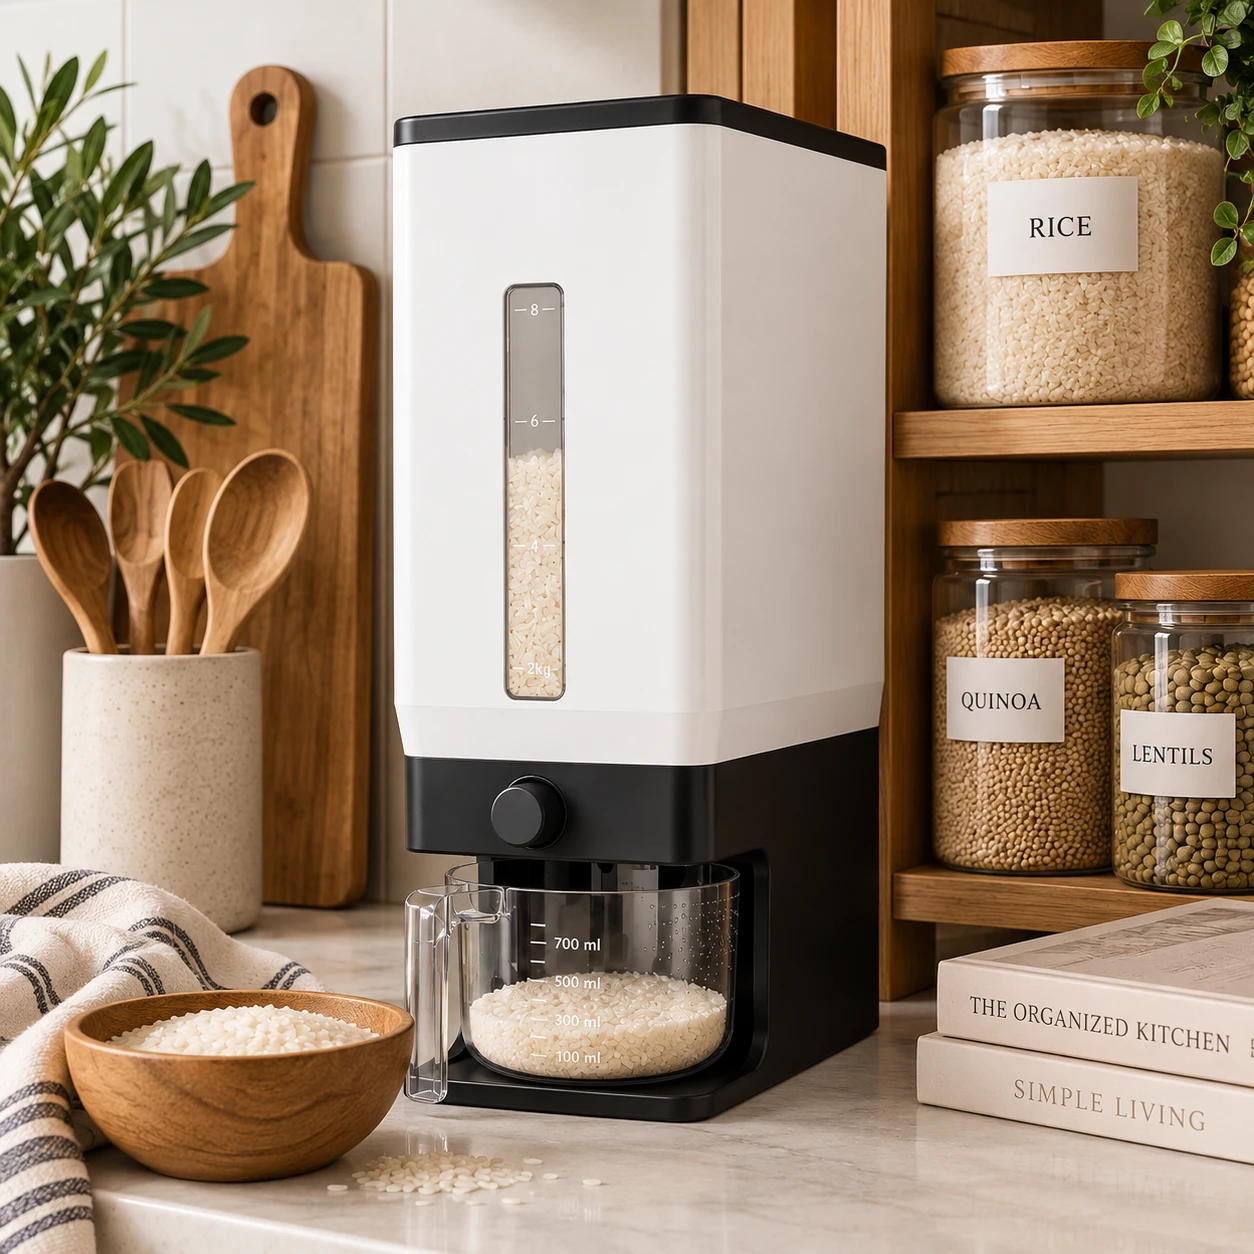
    Lifewit Rice Dispenser

    The Lifewit Rice Dispenser is designed to hold up to 25 pounds of rice or other dry grains, making it particularly useful for households that buy rice in larger quantities.

    Its dispensing design allows you to release rice using a button instead of repeatedly opening and scooping from a large bag.

    The container also includes a clear viewing window and a measuring cup, so you can see how much rice remains and portion it more easily.

    The included cup also has small holes designed to help with rinsing rice.

    Before you order, check the product dimensions on the Amazon listing (it currently lists about 13 x 6 x 16.8 inches) and measure the counter or pantry space where you plan to keep it, including the height under any shelf or cabinet.

    Best for: families, bulk rice storage, and kitchens where counter or pantry organization matters.

    2. Keep Rice in One Dedicated Storage Area

    Instead of storing different bags of rice throughout the pantry, create one dedicated area for rice and other frequently used grains.

    This makes it easier to find what you need when cooking and gives your pantry a more intentional layout. For more ideas beyond the pantry, see our guide to kitchen organization products that actually save space.

    You can keep rice alongside quinoa, beans, lentils, or other dry staples that you use regularly.

    3. Store Bulk Rice in a Sealed Container

    If you purchase rice in larger quantities, transferring it from the original packaging into a suitable storage container can make the pantry feel much less cluttered.

    Look for containers with secure lids that help protect dry foods from moisture and pantry pests.

    A clear container can also make it easier to see when you’re running low.

    4. Create a Small Rice Station

    If rice is something you cook frequently, consider creating a small “rice station” in your kitchen or pantry.

    Keep the rice dispenser or container together with other items you use when preparing rice, such as your measuring cup or favorite cooking tools.

    This small change can make meal preparation feel much more streamlined.

    5. Take Advantage of Vertical Pantry Space

    Pantry shelves can quickly become crowded when bulky food packages are stacked on top of one another.

    Using containers with a compact footprint can help you make better use of vertical space.

    Instead of spreading several bags across a shelf, group your dry staples together and organize them by how frequently you use them.

    6. Label Your Dry Goods

    Labels can make a surprisingly big difference in a pantry.

    If you store several grains or dry ingredients in similar containers, simple labels can help you quickly identify rice, quinoa, beans, pasta, and other staples.

    For a cohesive look, use the same label style throughout the pantry. If you want more label-friendly storage, browse our roundup of home organization products you’ll actually use.

    7. Make Your Rice Storage Easy to Maintain

    The best pantry organization system isn’t necessarily the most complicated one.

    It should be easy to refill, easy to clean, and easy to use every day.

    Keep frequently used foods within easy reach and reserve less frequently used ingredients for higher or less accessible shelves.

    Small systems that fit naturally into your cooking routine are often easier to maintain over time.

    Rice Storage Ideas: How to Choose the Right Solution

    The best rice storage method depends on how much rice you normally buy and how frequently you use it.

    If you buy rice in bulk: Look for a larger dedicated container or dispenser.

    If you have limited pantry space: Prioritize compact storage that makes efficient use of shelf space.

    If you cook rice frequently: Choose a system that makes portioning quick and convenient.

    If you want a cleaner-looking pantry: Use coordinated containers and simple labels.

    If you want to reduce clutter: Keep frequently used dry goods together in one organized area.

    A More Organized Pantry Starts With Small Changes

    You don’t have to reorganize your entire kitchen to make your pantry more functional.

    Sometimes, simply giving everyday staples like rice a dedicated storage system can make cooking and cleanup feel easier.

    Whether you use a rice dispenser, a sealed container, or a simple labeled storage bin, the goal is to create a system that works naturally with the way you use your kitchen. If your fridge could use the same treatment, our fridge organization aesthetic guide is a good next step.

  • 18 Amazon Kitchen Organization Products That Actually Save Space

    18 Amazon Kitchen Organization Products That Actually Save Space

    Home Finds Studio is a participant in the Amazon Services LLC Associates Program. As an Amazon Associate, we earn from qualifying purchases — at no extra cost to you. We only feature products we genuinely love.

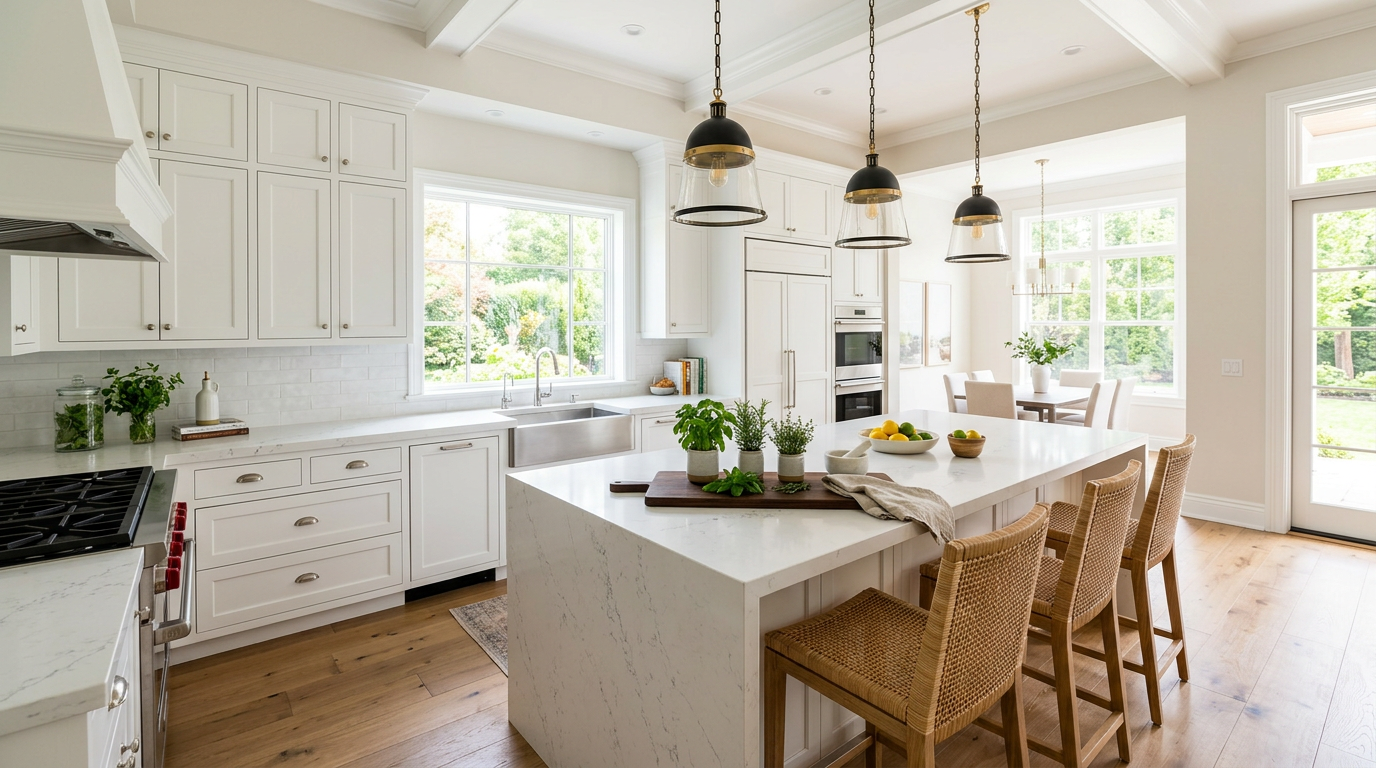
    Bright white kitchen with Shaker cabinets, a marble waterfall island with woven counter stools, glass pendant lights and potted herbs on the counter

    You don’t need a full renovation to feel more organized. These 18 products bring smart storage and easy function to every corner of your kitchen.

    Bright white kitchen with Shaker cabinets, a marble waterfall island with woven counter stools, glass pendant lights and potted herbs on the counter

    An organized kitchen saves time and makes everyday cooking easier. This article highlights 18 products that combine function with a clean minimalist aesthetic.

    Drawer & Cabinet Solutions

    1. Expandable Bamboo Drawer Organizer

    Adjusts to fit any drawer size, keeping utensils separated and easy to find.

    2. Airtight Food Storage Containers

    Keeps pantry staples fresh longer and creates a clean, uniform look on your shelves.

    3. Turntable Lazy Susan

    Spins for instant access to oils, spices, and condiments tucked in the back of a cabinet.

    4. Pull-Out Cabinet Organizer

    Slides out for full visibility of pots and pans without digging through a deep cabinet.

    5. Under-Sink Organizer

    Makes use of awkward under-sink space for cleaning supplies while keeping pipes accessible.

    Pantry & Storage Solutions

    Pantry & Storage Solutions

    6. Pan Organizer Rack

    Stores pans vertically so you can grab the one you need without pulling out the whole stack.

    7. Pot Lid Holder

    Keeps lids upright and organized instead of clattering around in a drawer.

    8. Over-the-Door Pantry Rack

    Adds extra storage for canned goods and snacks without using any shelf space.

    9. Stackable Can Organizer

    Lets cans roll forward automatically so the oldest one is always used first.

    10. Glass Spice Jars

    Gives your spice cabinet a matching, boutique look while keeping contents fresh and visible.

    Countertop & Prep Essentials
    Countertop & Prep Essentials

    Countertop & Prep Essentials

    11. Magnetic Knife Strip

    Frees up drawer space and keeps knives within reach and safely displayed.

    12. Coffee Pod Organizer

    Keeps pods sorted by flavor and easy to grab each morning.

    13. Wrap Dispenser

    Stores foil, wrap, and parchment paper in one tidy box instead of loose in a drawer.

    14. Sink Caddy

    Keeps sponges and dish soap organized and out of the way of your sink basin.

    Finishing Touches

    Finishing Touches

    15. Rolling Utility Cart

    Adds portable extra counter and storage space wherever your kitchen needs it most.

    16. Shelf Risers

    Doubles your cabinet’s storage capacity by using the empty space above shorter items.

    17. Clear Refrigerator Bins

    Groups similar items together so nothing gets lost or forgotten in the back of the fridge — for a full room-by-room approach, see our fridge organization aesthetic guide.

    18. Label Maker

    Makes every container and bin instantly identifiable, keeping the whole kitchen consistent.

    Organization Tips

    • Declutter first.
    • Measure spaces.
    • Label containers.
    • Use vertical storage

    FAQ

    What’s the best first organizer? Drawer organizers and pantry containers.

    Invest in quality organizers gradually to build a beautiful and functional kitchen. Once the kitchen is sorted, our 20 bathroom organization ideas and our 15 home organization products for every room cover the rest of the house.

    Ready to start? Our Storefront groups every kitchen organizer from this guide together for easy shopping.